Custom Components Development Lifecycle
Superblocks CLI + Custom Components
Custom Components must be developed using the Superblocks CLI.
Interacting with Superblocks resources
Initializing your repo locally
The superblocks init command is used to initialize your Superblocks monorepo locally. You will run this command as the first step when you begin developing Custom Components.
Pull
The superblocks pull command is used to pull the latest resources from your Superblocks monorepo. In the context of developing Custom Components, you will often run this command to download the most recently uploaded version of a component before iterating upon it.
When downloading an existing custom component, you may need to run npm install to install any dependencies
Creating components
The superblocks components create command is used to:
- Register a component with Superblocks, making it available to your Superblocks Application
- Initialize your component directory for a single component on your local machine
Once you’ve run this command, you will be able to see your newly created component within Superblocks and begin your development.
Serving components from your local dev server
The superblocks components watch command is used to run your local development server from which the component will be served while you develop. You will typically run this command before you begin developing so that you can see the changes you make within your Superblocks Application.
Uploading components
The superblocks components upload command is used to upload your component to the Superblocks CDN. In order for a component to be used outside of Local Dev Mode, you must upload the component to Superblocks.
File Directory
Superblocks Monorepo
In order to begin developing Custom Components, you will first initialize a Superblocks
monorepo (with the superblocks init command). This monorepo contains a directory for each of the Applications you select. After running this command, you will see a directory structure that looks like the following:
└── apps
   └── my_astounding_app
      ├── apis
      ├── application.yaml
      ├── page.yaml
   └── my_incredible_app
      ├── apis
      ├── application.yaml
      ├── page.yaml
       …
Application Directory
Custom Components are scoped to the Application-level, so it is crucial that you develop your Custom Component within the relevant application directory.
After navigating into the relevant application directory and initializing a Custom Component via superblocks components create, you will see the following directory structure:
└── my_astounding_app
   ├── apis
   ├── application.yaml
  *├── components*
  *|  └── FiveStarRating*
  *|     ├── component.tsx*
  *|     └── config.ts*
  *|     └── types.ts*
   ├── node_modules
   ├── page.yaml
    …
Custom Component(s) are developed within the components directory.
Components Directory
The components directory contains a folder for each of your custom components. Each component must include a config.ts, component.tsx, and types.ts file, as described in the Component Files documentation.
Local Development Mode
When developing Custom Components, it is crucial that developers can build & test their component before making it available to their production applications. This requirement means developers must be able to test their components within Superblocks Applications. Local Development Mode is the key to achieving this development flow.
In the standard mode, all components in Superblocks are served from the Superblocks CDN. Local Development Mode allows developers to serve components from their local machine. When an Application is switched into Local Development Mode within a Superblocks Application, the application will look for the local development server (on port 3002), and attempt to fetch custom components from that server.
Running your local dev server
Running the superblocks components watch command will start up your local development server on that port, so that the Application in Local Dev Mode can properly fetch the component. The watch command also supports hot-reloading, which means that any changes you make locally will be immediately reflected in Superblocks.
Enabling Local Dev Mode in your application

In order for your application to begin fetching a component from your local development server, you must enable Local Dev Mode. There are a few ways to do this:
-
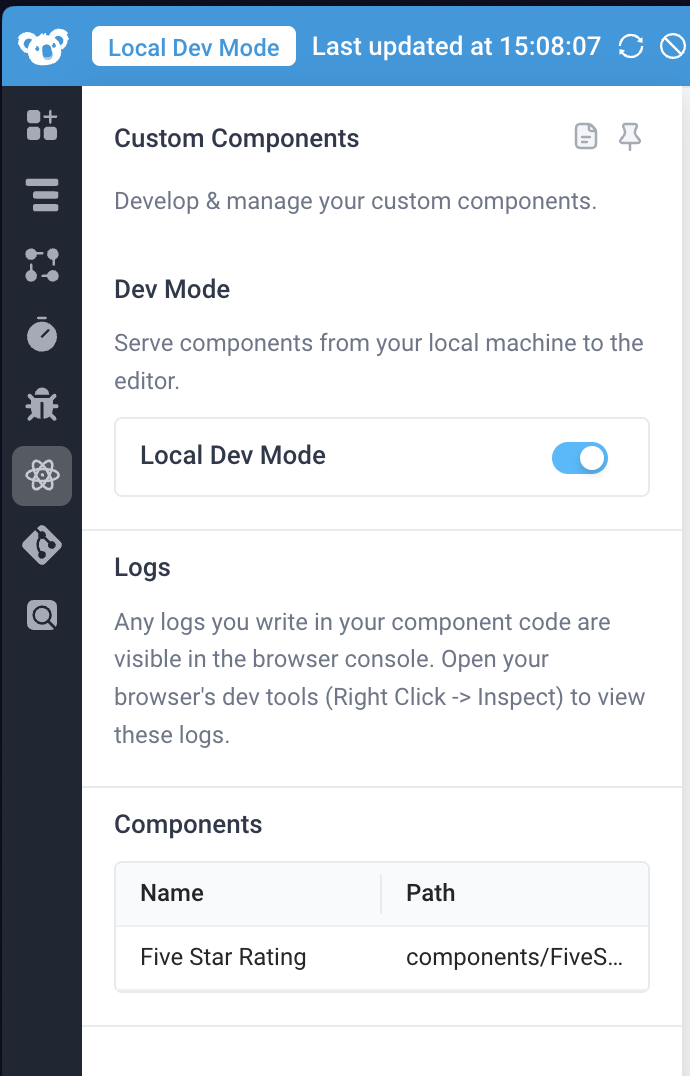
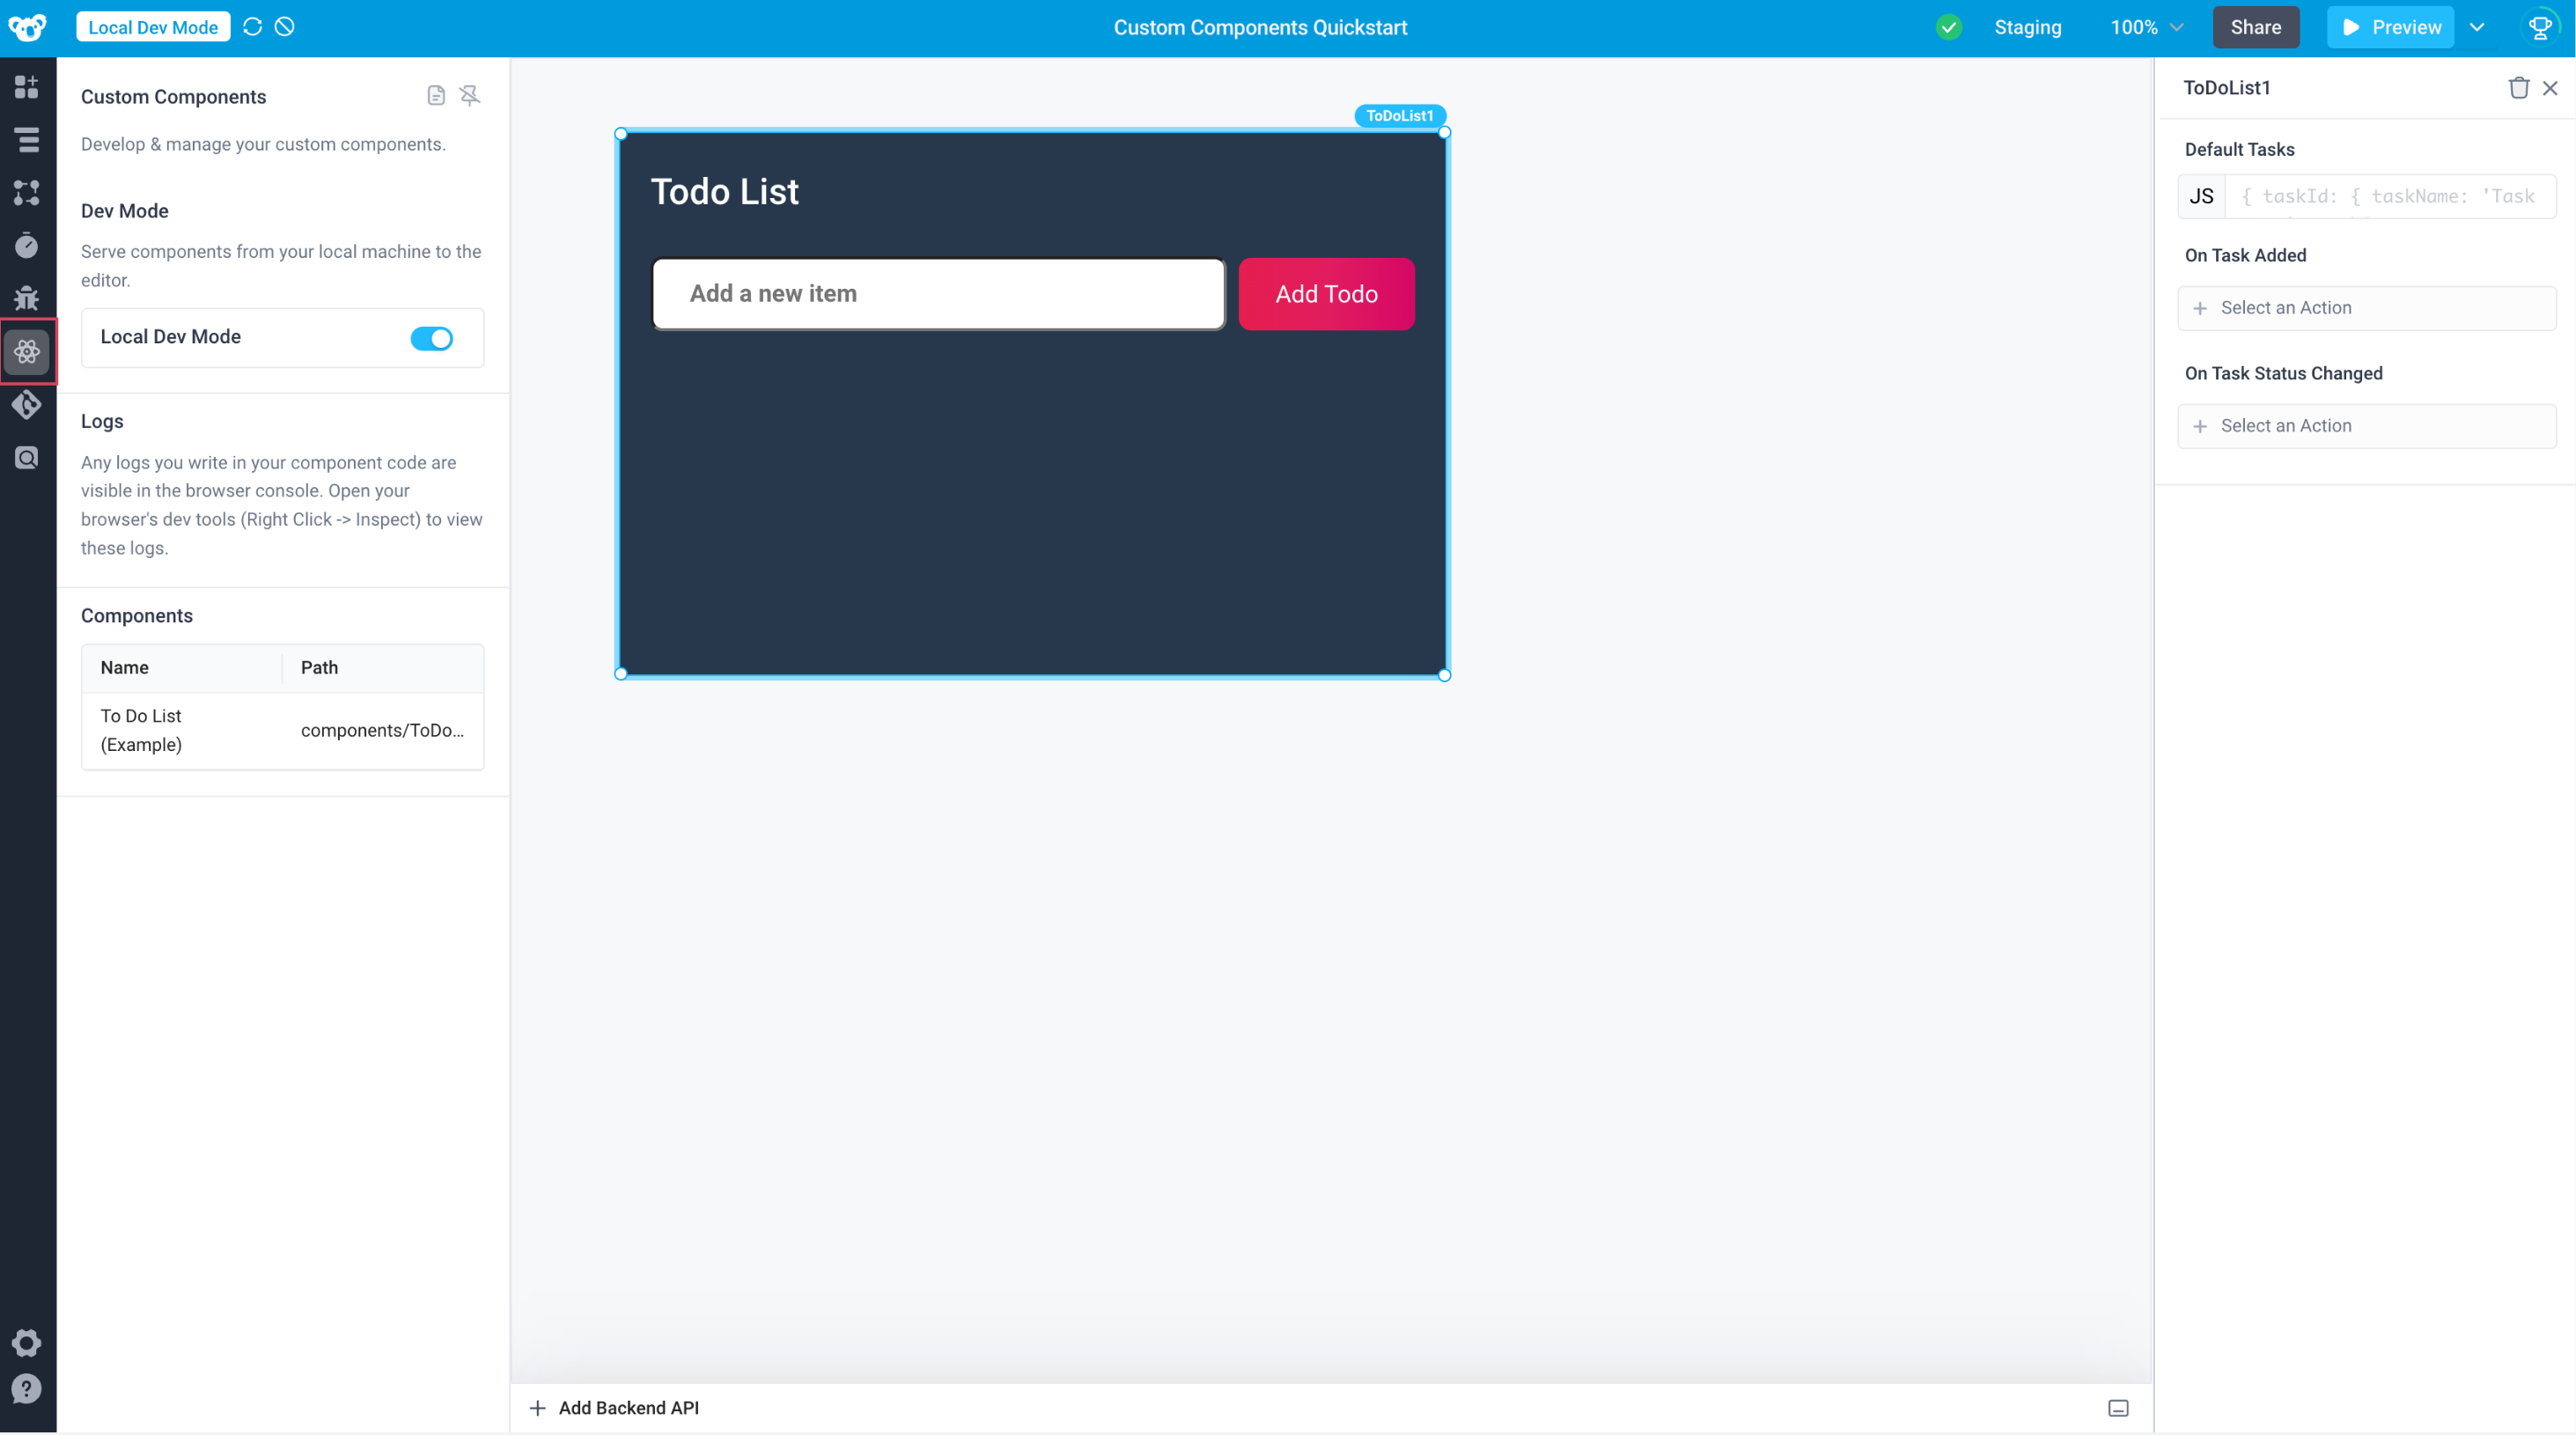
Select the Custom Components navigation item and toggle Local Dev Mode on.
-
Add the
devMode=truequery parameter to your URL. This query parameter is appended to the URL returned from runningsuperblocks components watch.
Once Local Development Mode is enabled, you will see the header of your Superblocks Application turn blue, as well as a Local Dev Mode tag in the top left. The header also includes the timestamp at which the application most recently received an update from the local development server.

Upload & Versioning
Upload
Once you are done developing your custom component, you must upload the component to Superblocks, in order to make it available for use outside of Local Dev Mode.
Under the hood, running the upload command will build your component code and dependencies into a minified file. You can view this file in the generated dist folder after running the upload command.
Versioning
Custom Components are versioned to ensure that you can develop your custom components without unintentionally disrupting your production applications.
Custom Components versioning follows the same pattern as any other resources in Superblocks - for example, APIs. Namely:
- The Edit Mode of your application is mutable. Changes made while in Edit Mode are reflected in the changelog.
- Committed & Deployed versions of your application are immutable, meaning they will not be affected by subsequent edits to your application from Edit Mode.
The only nuance to consider with Custom Components is that while you are developing, upload is an explicit additional step you must take to make your modified component(s) available to the Edit Mode of your application.
- The Edit Mode of your application always reflects the most recently uploaded version of a Custom Component.
- When an application is deployed, the deployment is pinned to the version of the component from your edit mode (which is, once again, the most recently uploaded version of that component)
This versioning ensures that uploading an updated version of a Custom Component does not modify the deployed application.
With Superblocks init
Additionally, when you run superblocks init, you select the version of the resources to clone. When working with Custom Components, you will most commonly want to select the latest edits, which will clone the most recently uploaded version of your custom component(s). However, you can also develop on top of a version of component(s) pinned to the latest commit or current deploy, by selecting the relevant resource version when running superblocks init.
Debugging
When developing Custom Components, developers are encouraged to use the standard browser development tools to debug their components.
Console Logs: Any console logs can be found in the browser console. Open your browser's dev tools (Right Click -> Inspect) to view these logs.
Debugger Directive: Developers can leverage the standard debugger directive to invoke any available debugging functionality.
Limitations
- Server-side rendering is not supported for Custom Components