Viewing role permissions
To view the permissions associated with an organization role:- Click your avatar in the upper-left corner of the home page and click Organization Settings
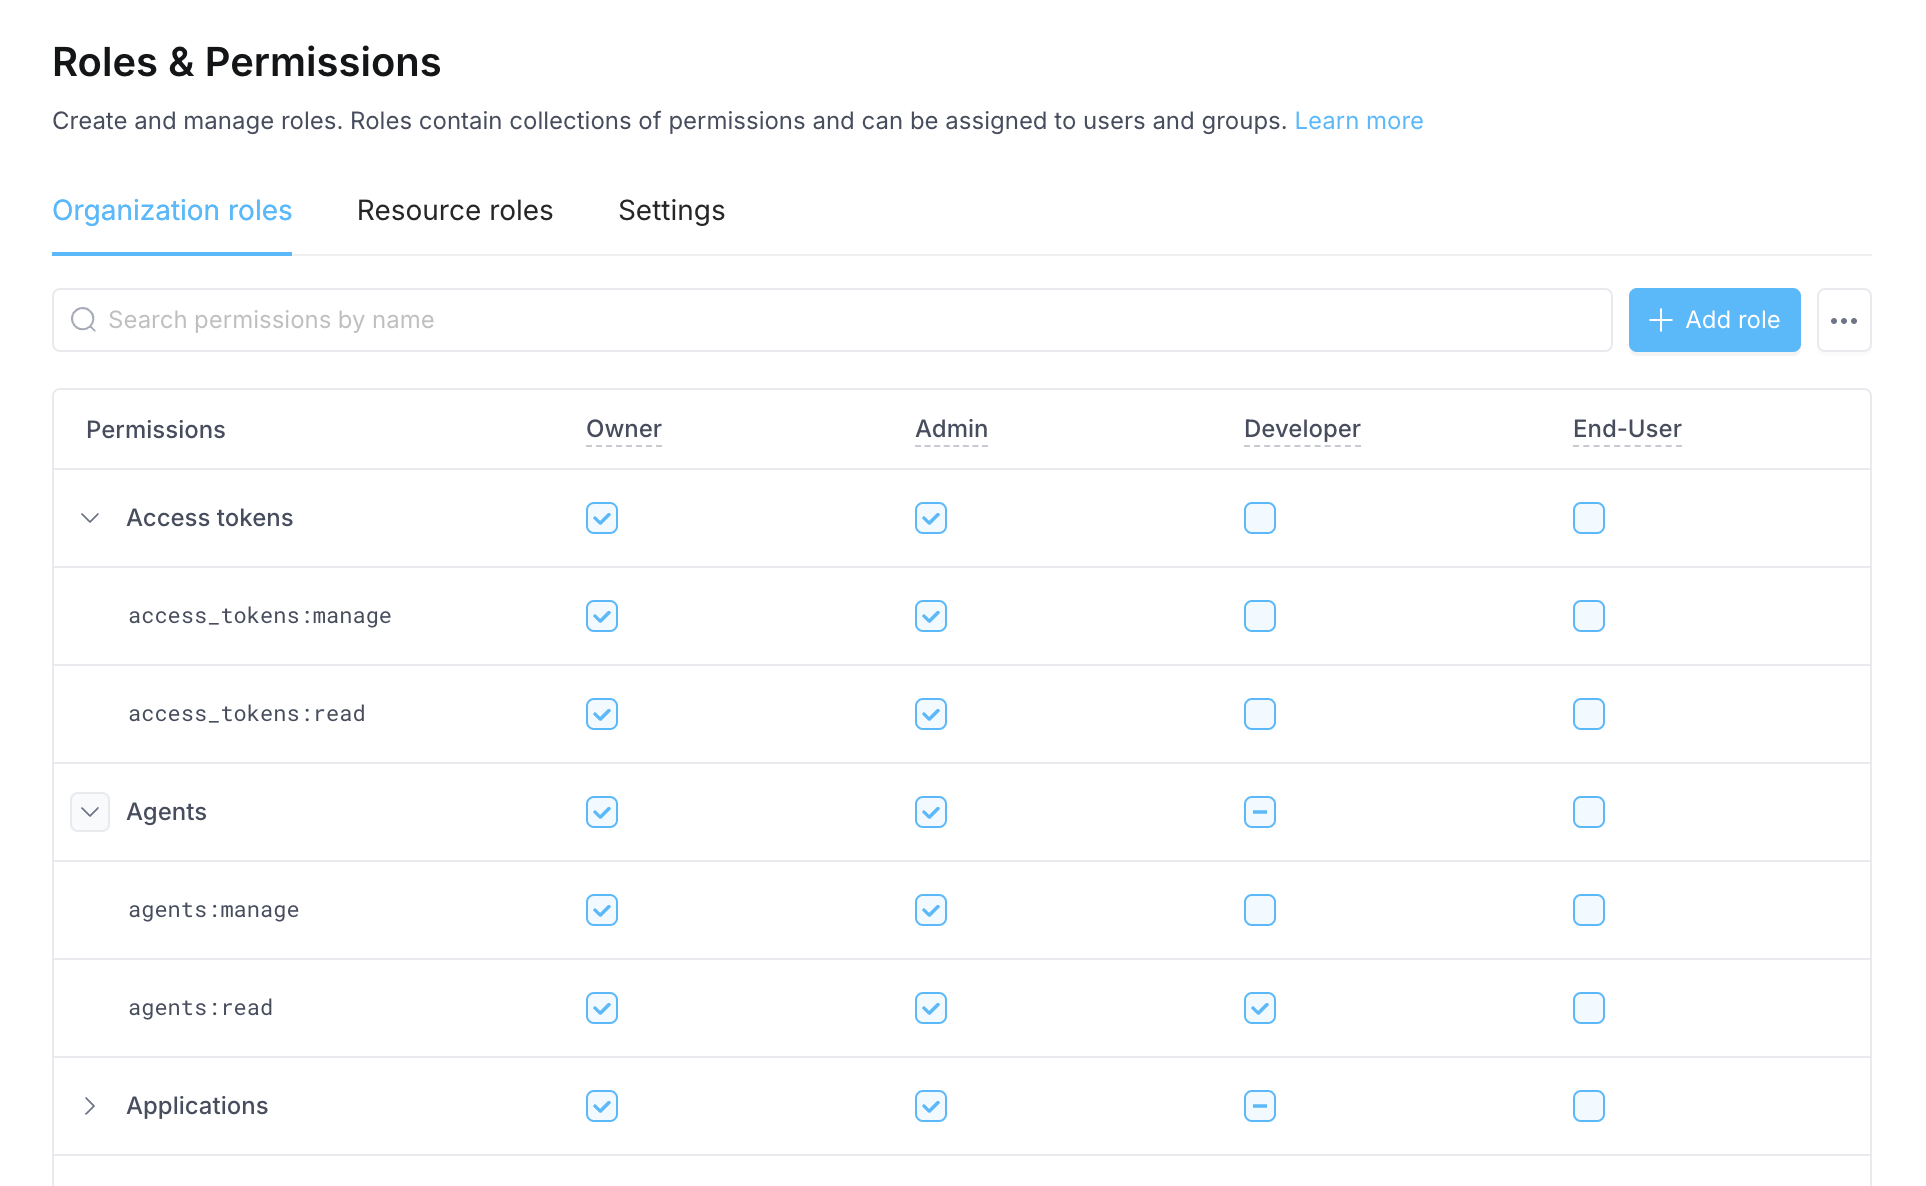
- Click Roles & Permissions
- Expand/collapse resources in the table to view the permissions associated with each role
Setting default role
Each member of your organization must have an organization role. When users are invited to your org, you must select the role that will be assigned. If your organization lets users join your team based on their email domain, they will be assigned the default role set for your organization. To update your org’s default role:- Click your avatar in the upper-left corner of the home page and click Organization Settings
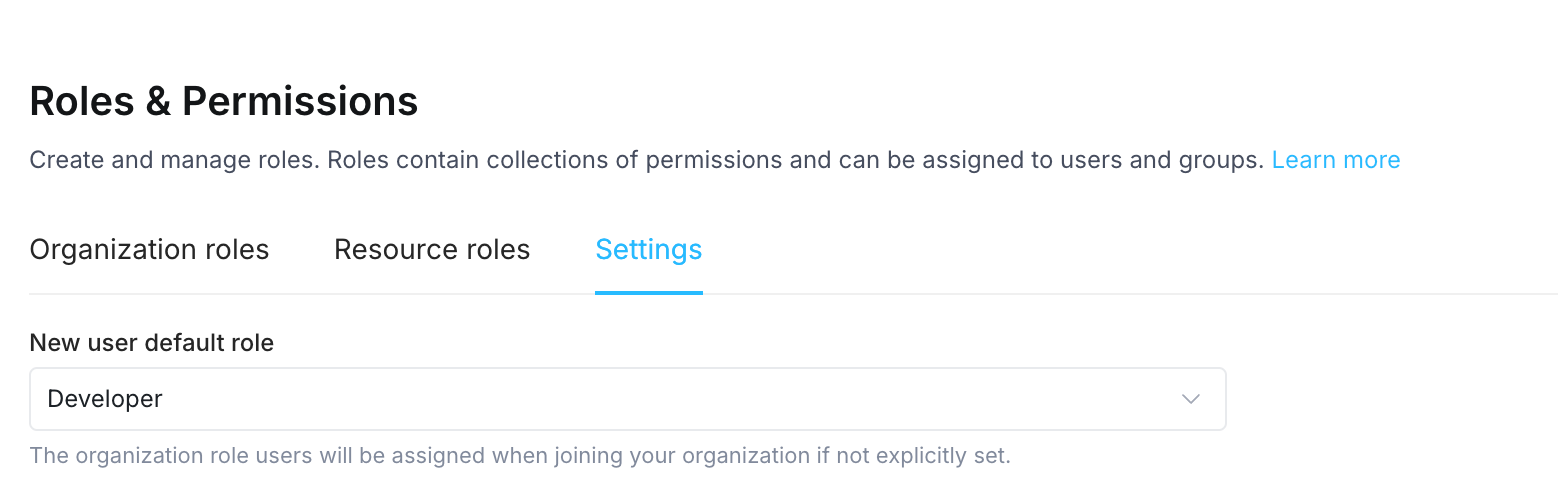
- Click Roles & Permissions and go to the Settings tab
- Update the New user default role
Assign organization roles
Assign to individual user
To change the role of an individual member:- Click your avatar in the upper-left corner of the home page and click Organization Settings
- Click Users
- Find the user by entering their name or email into the search bar
- Click into the Role selector and choose the new role you want to assign
Assign to multiple users
To update the role assigned to multiple organization members:- Click your avatar in the upper-left corner of the home page and click Organization Settings
- Click Users
- Select the checkbox to the left of the members’ name to select that member
- Select all members that you want to update. Alternatively, if you wish to select all the members, click the checkbox next to the Name column in the table.
- Next to the Invite user button, another button will appear for bulk Actions
- Click the Actions button and then select Change user roles
- Select a new role for all of the selected users and click Save