

Getting started with Clark AI
1
Switch to Clark AI view
In the top right corner of the Superblocks header, click the product switcher and select Clark AI to switch from the Low-Code view.
2
Create your first application
Click Create New to start a new React application. Describe what you want to build in natural language and Clark will generate your app, complete with UI components and data integrations.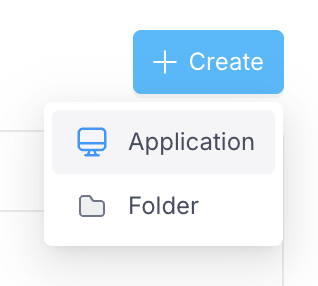
3
Start building
From here, you can tag integrations, add context, and iterate on your application using Plan and Build modes. See the full guide at Building with Clark AI.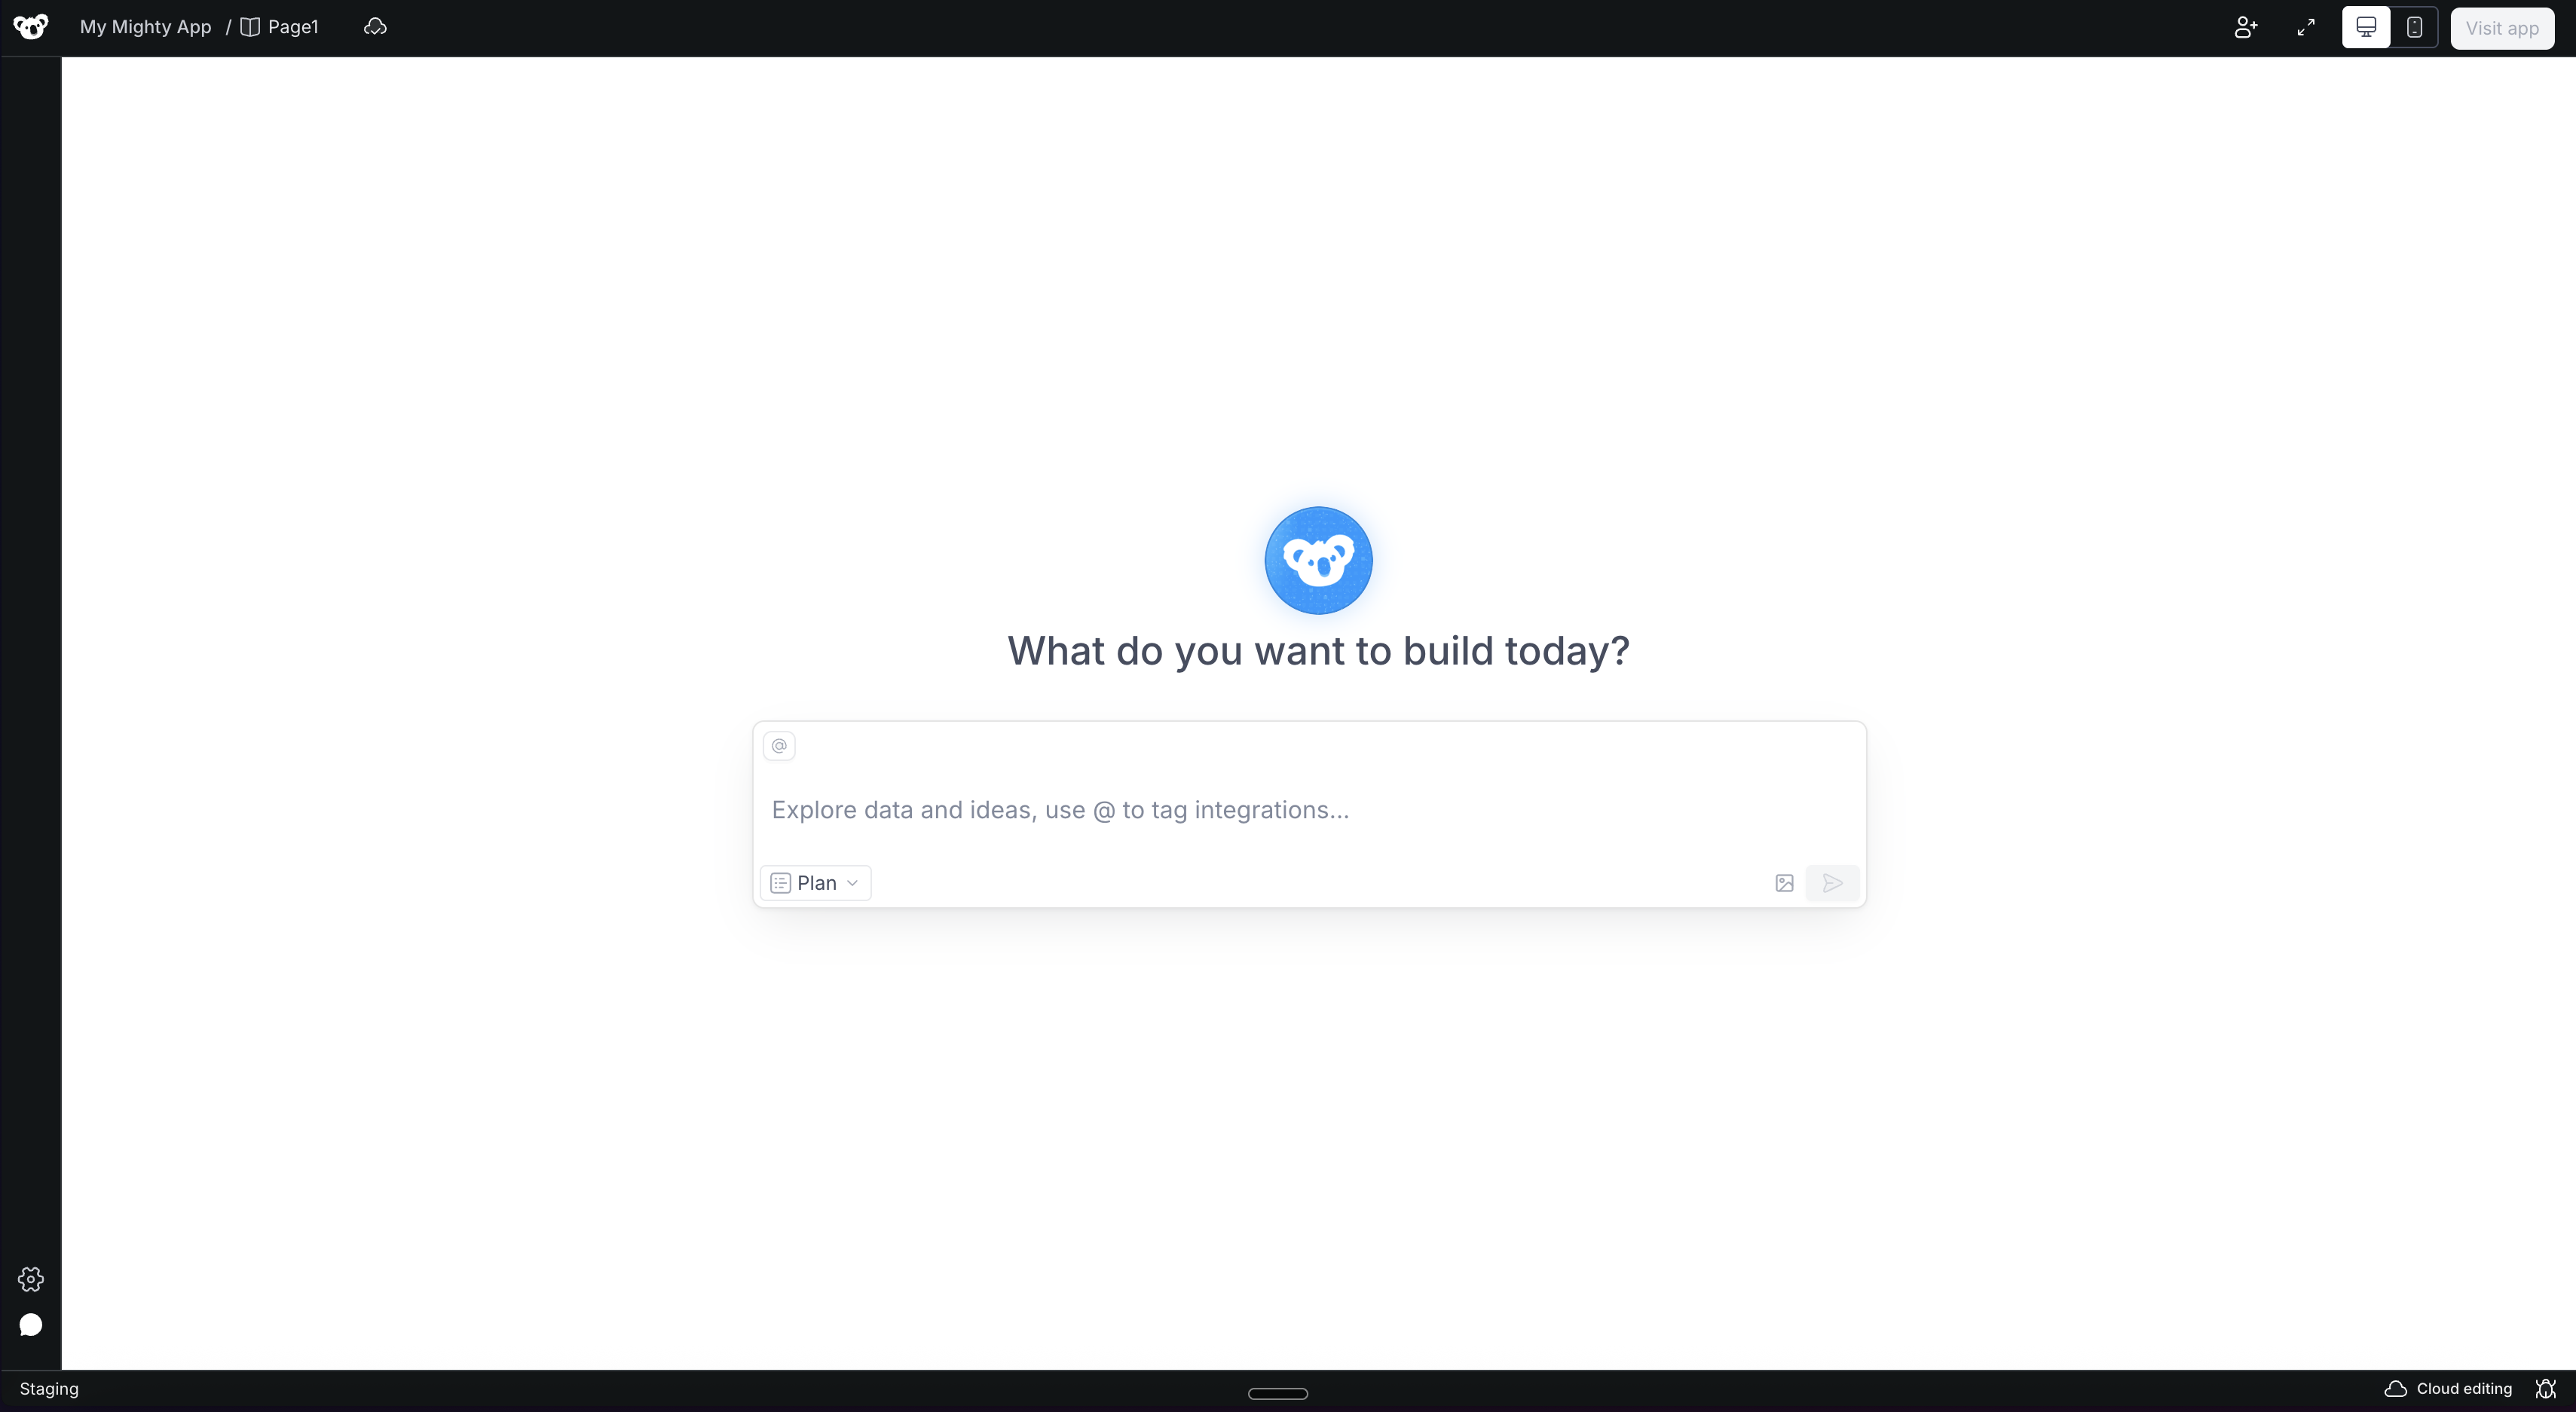
Using your existing integrations with Clark
To start using Clark on your existing integrations, you’ll need to opt them in. Because Clark accesses data in edit mode to build and debug your apps, you’ll want to review which integrations are enabled to ensure they’re set up appropriately.1
Navigate to Integrations
From the Clark AI view, go to the Integrations page and click Enable Integrations.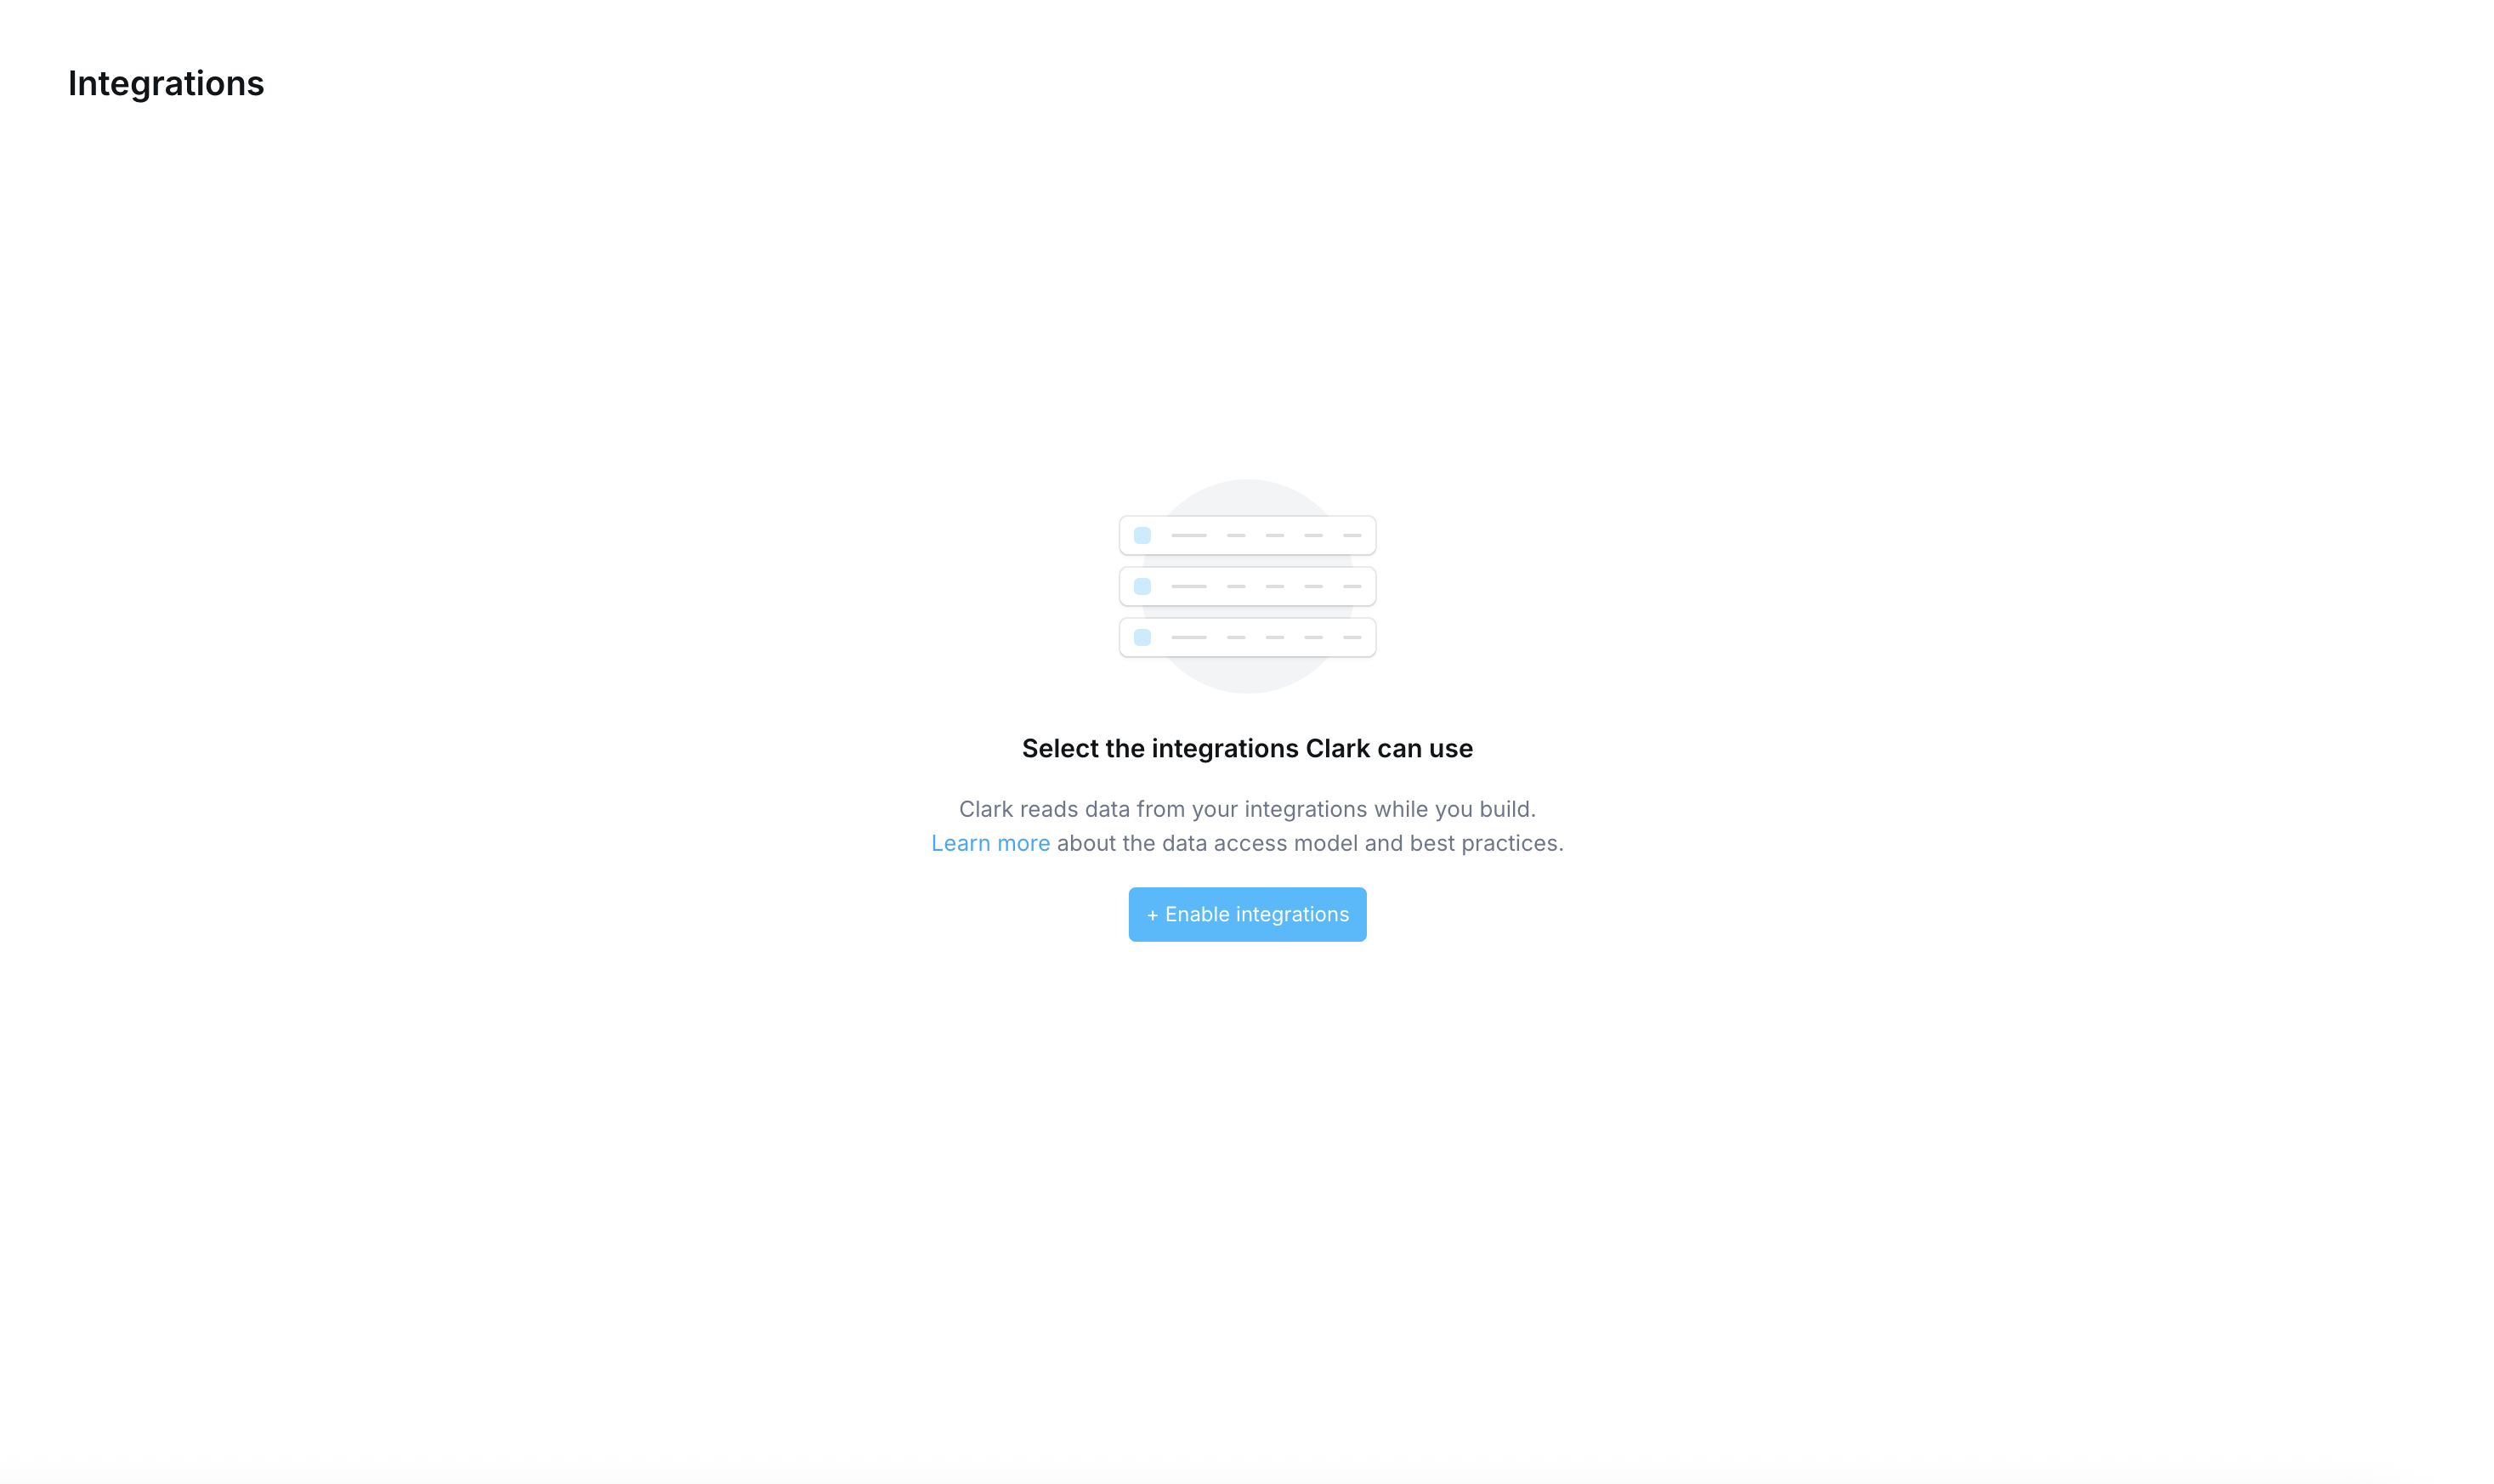
2
Select integrations to enable
Review your available integrations and select the ones you’d like Clark to use. Click Enable to confirm.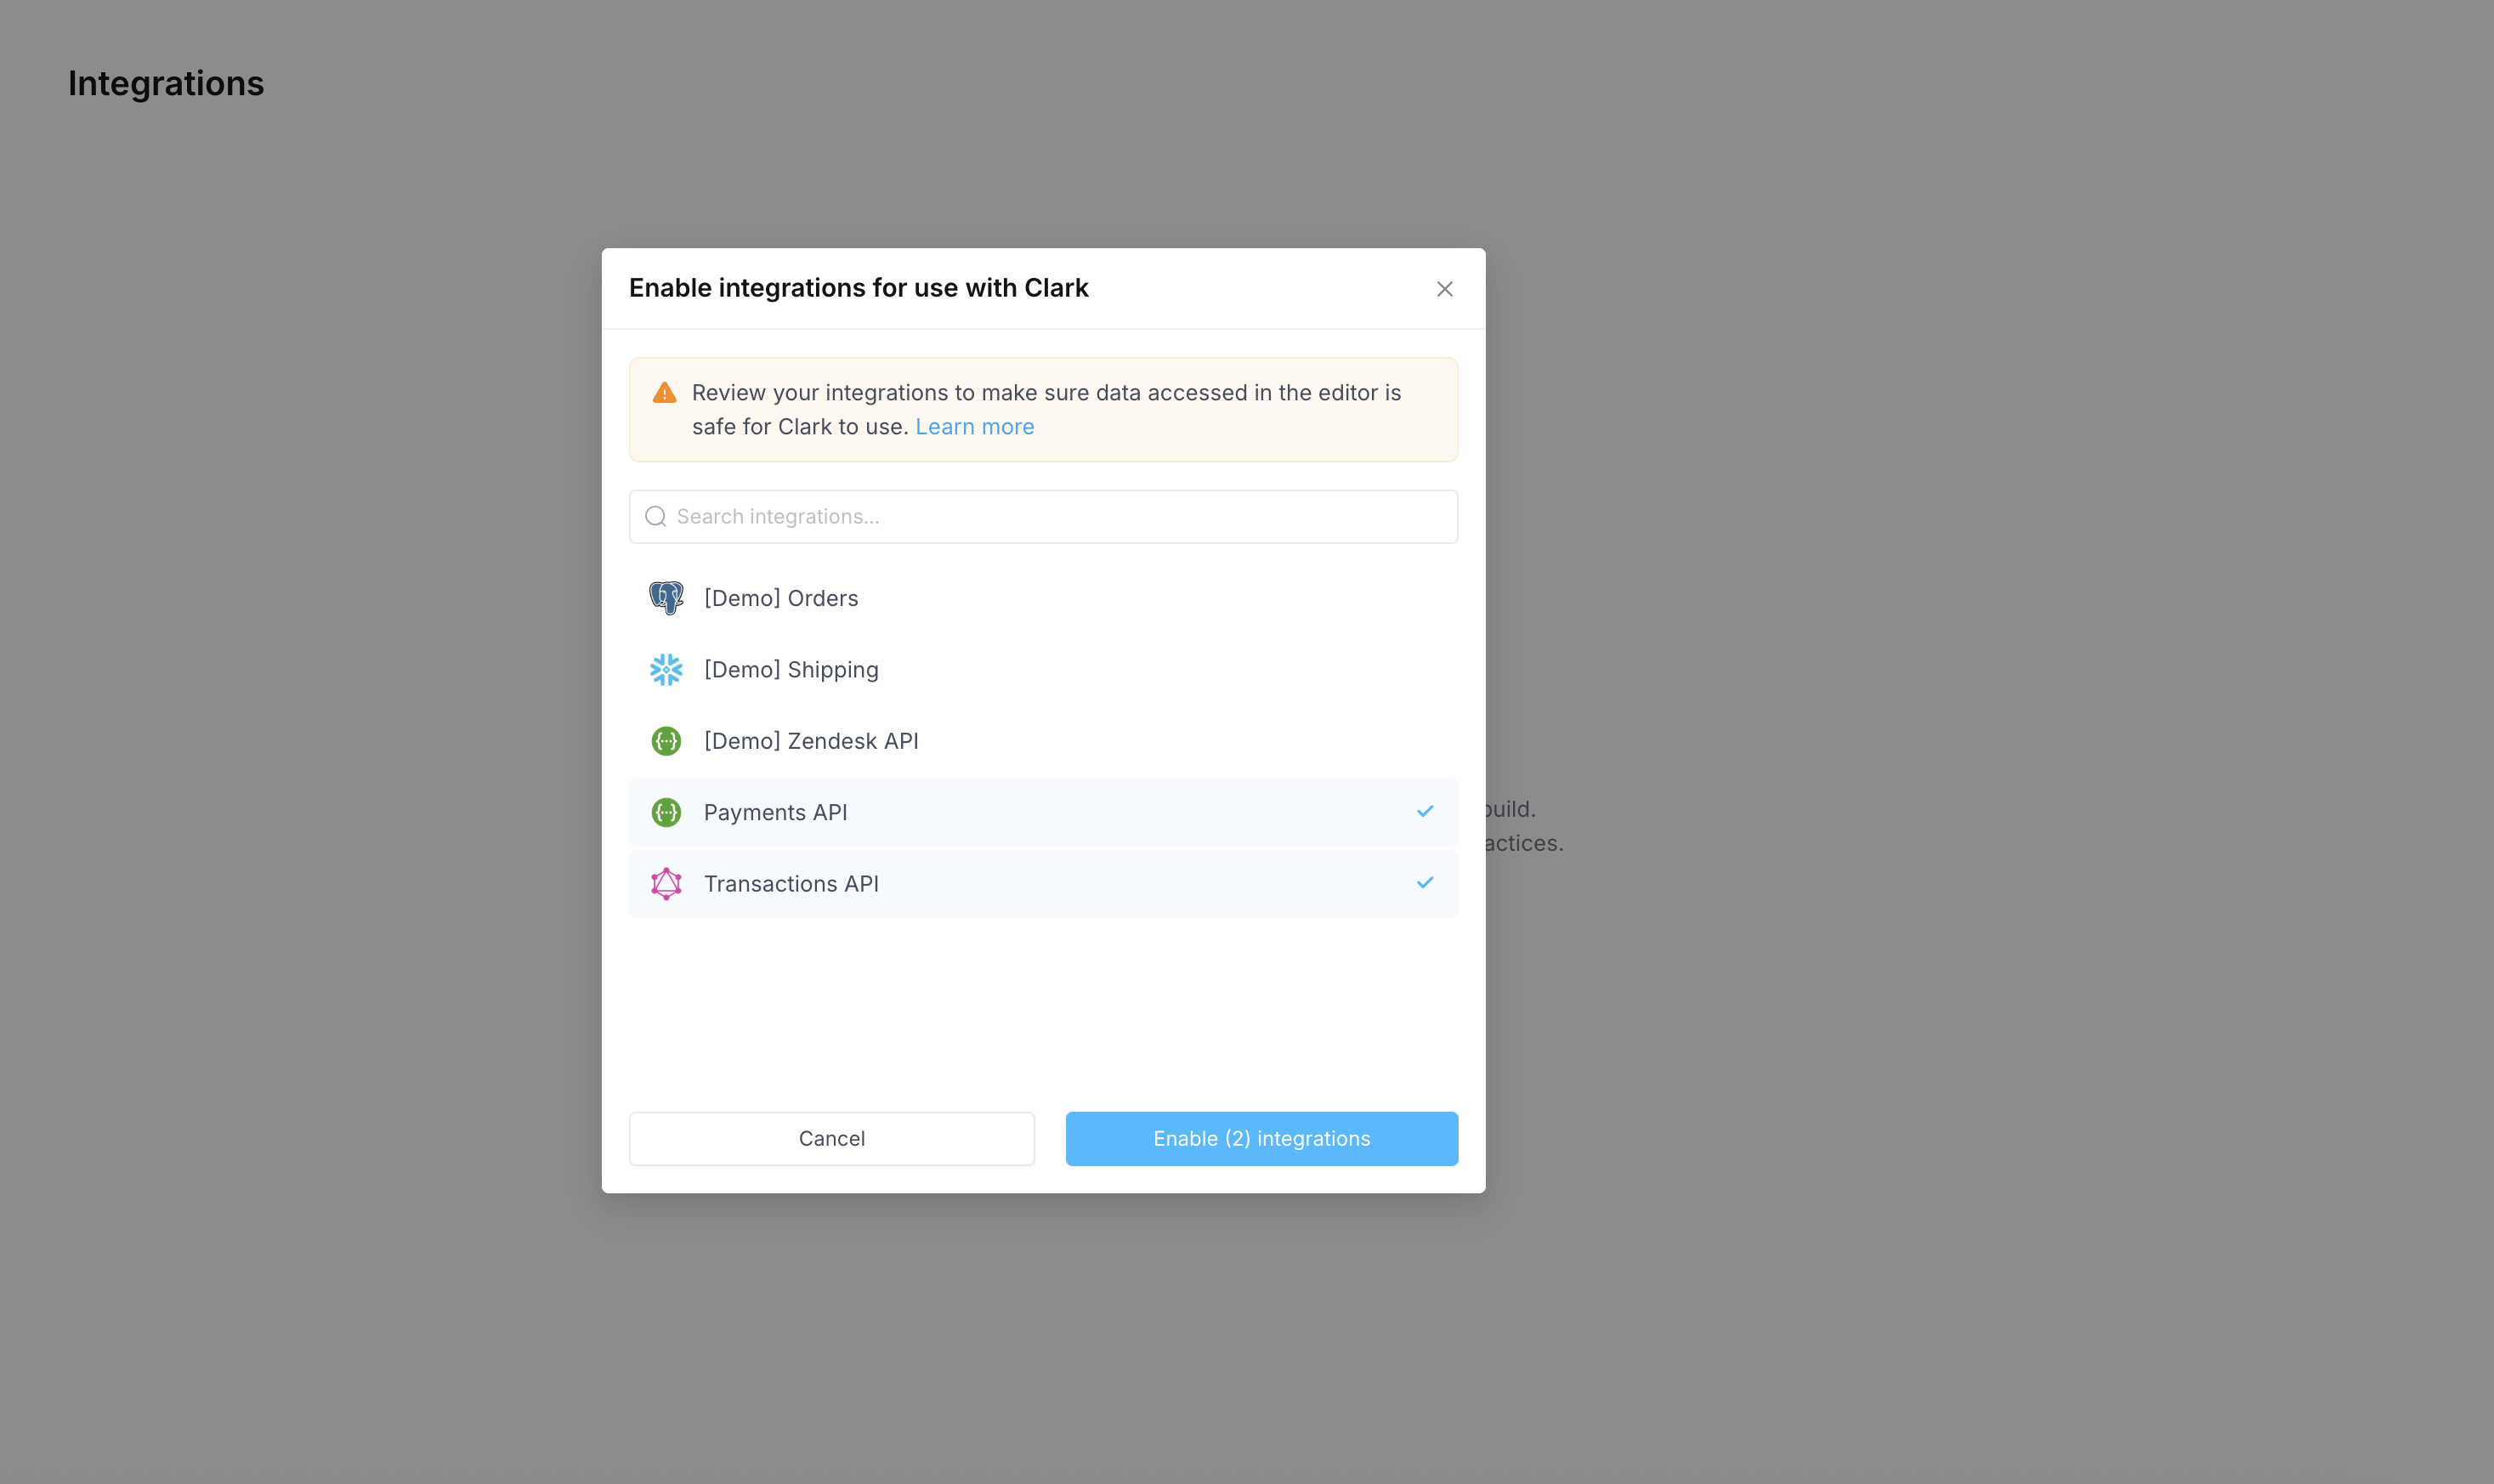
3
Start building with your data
Once enabled, your integrations are ready to use. Click Create your first app to start building, or tag these integrations directly from the Clark prompt.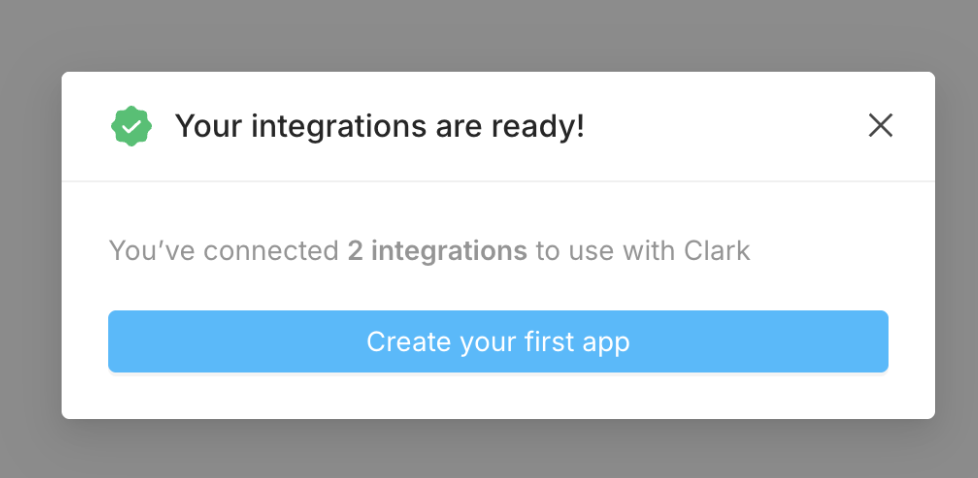
4
Enable more integrations later
You can always opt in more Low-Code integrations using the Enable integrations for Clark button on the Integrations page.