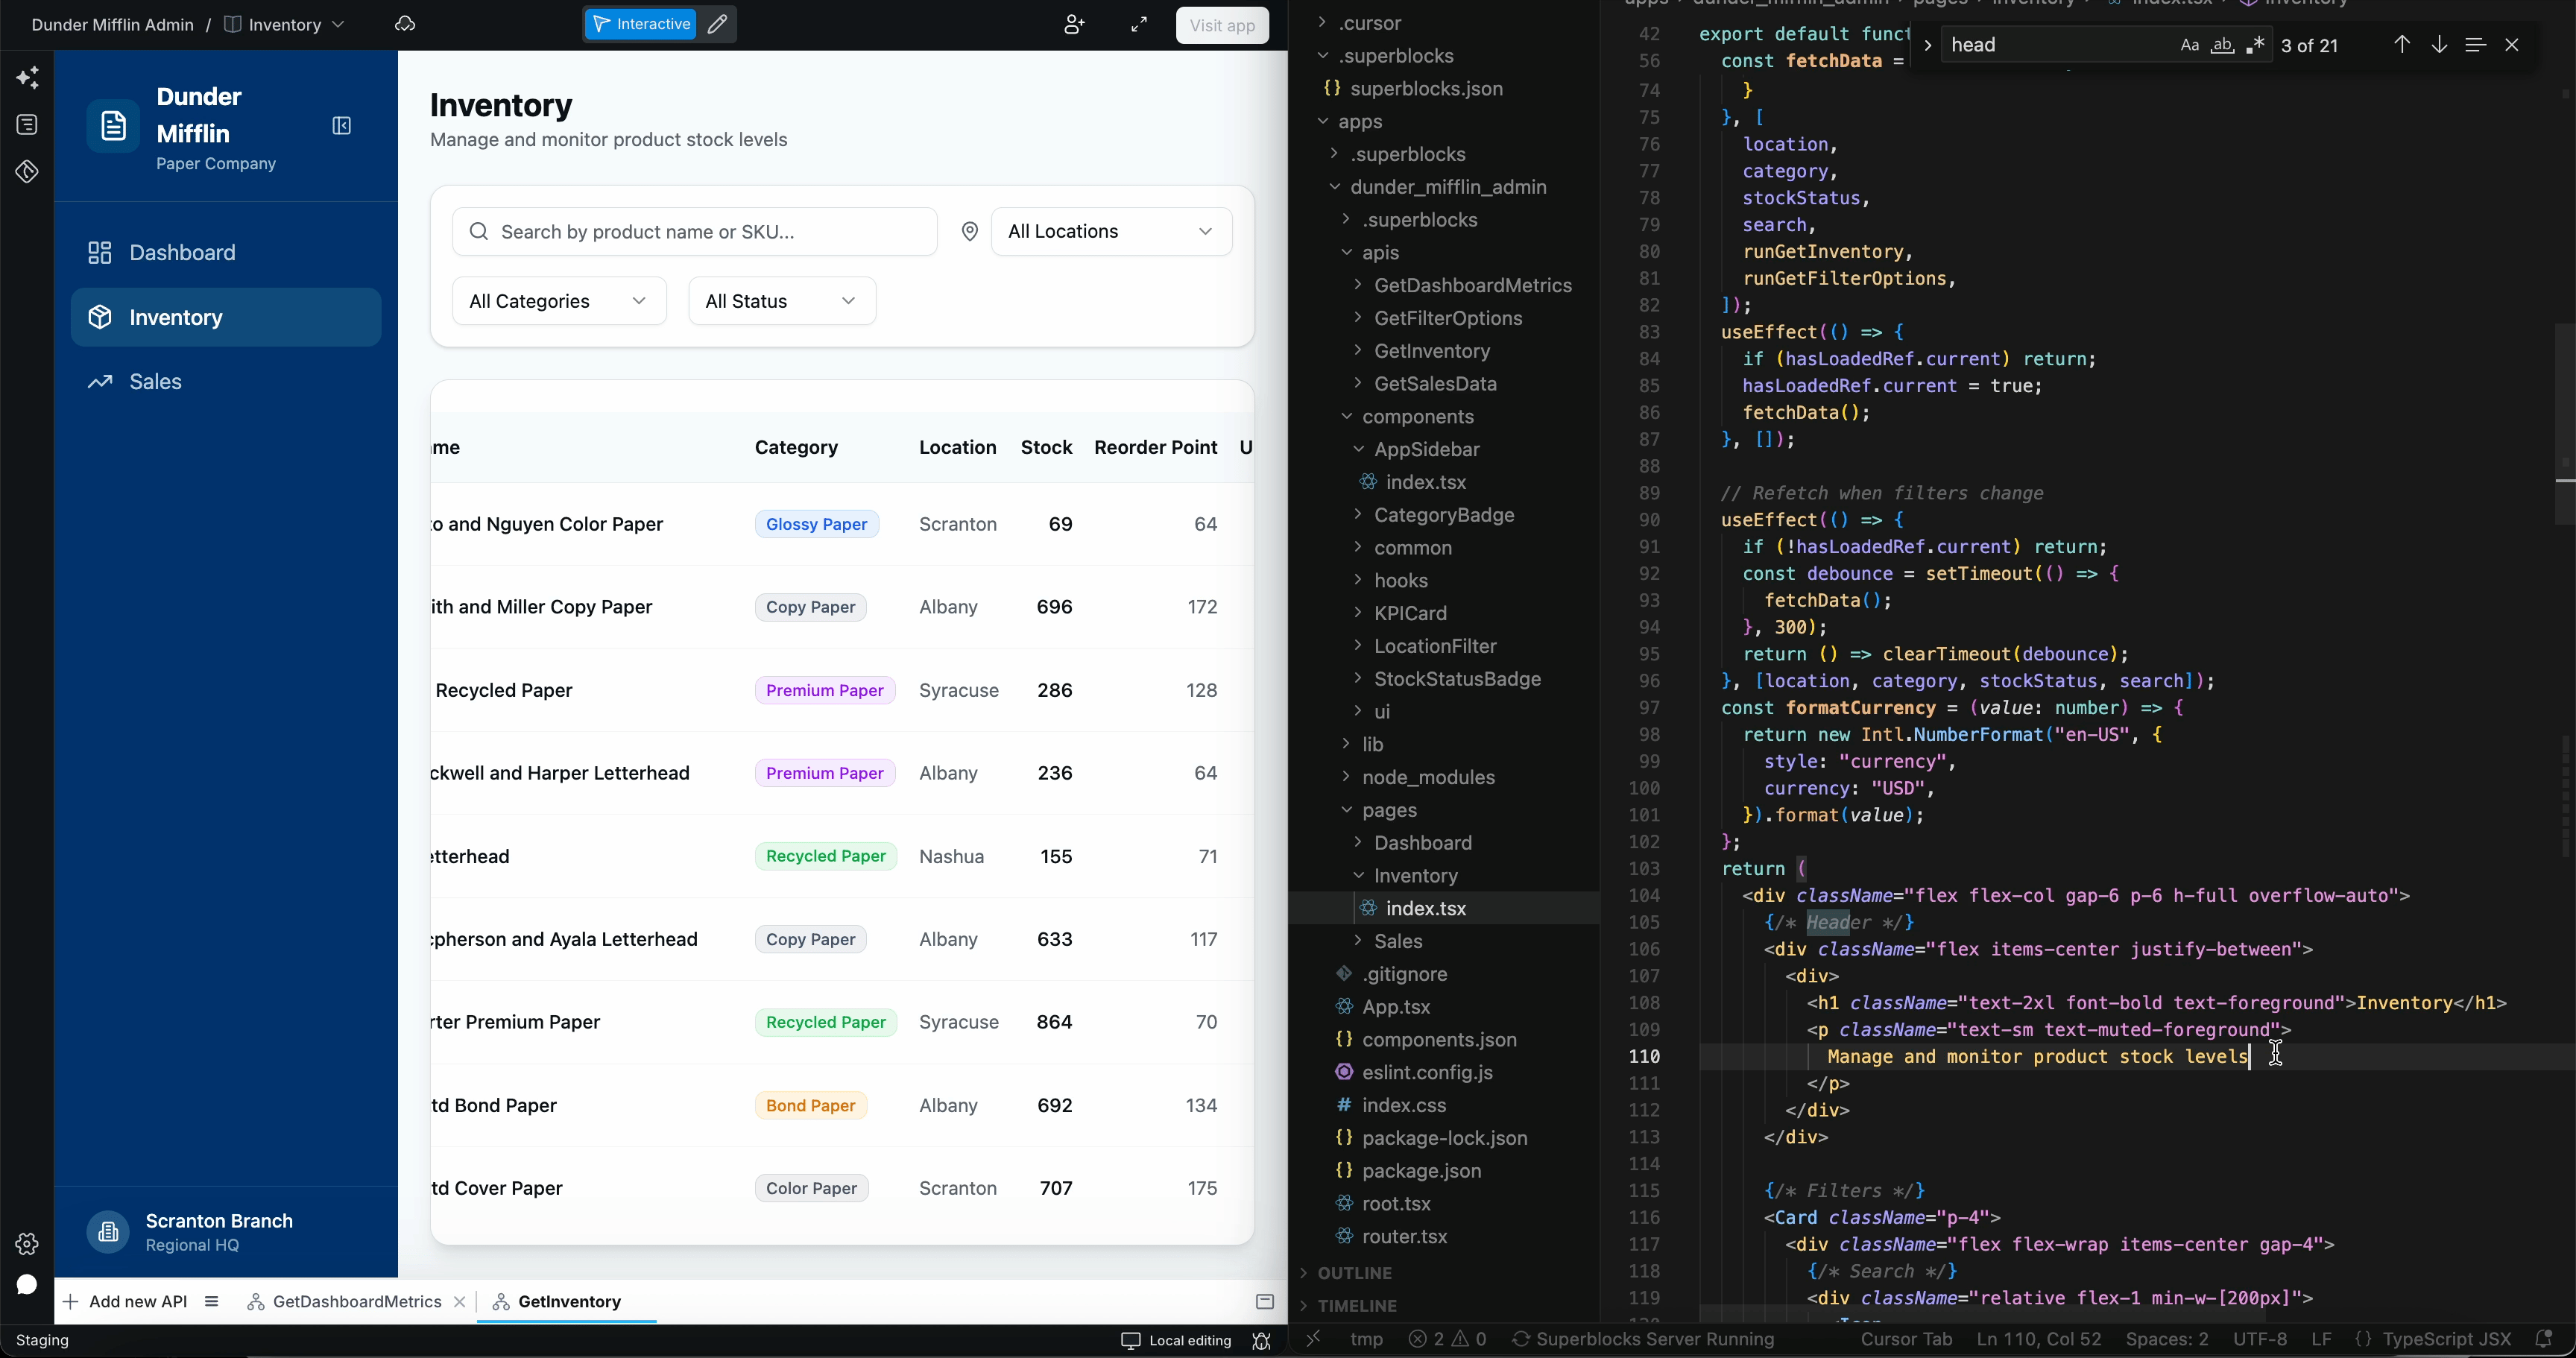
Enabling local edit mode
To enable local editing, click Cloud editing in the bottom right corner of the screen, then follow the instructions in the modal.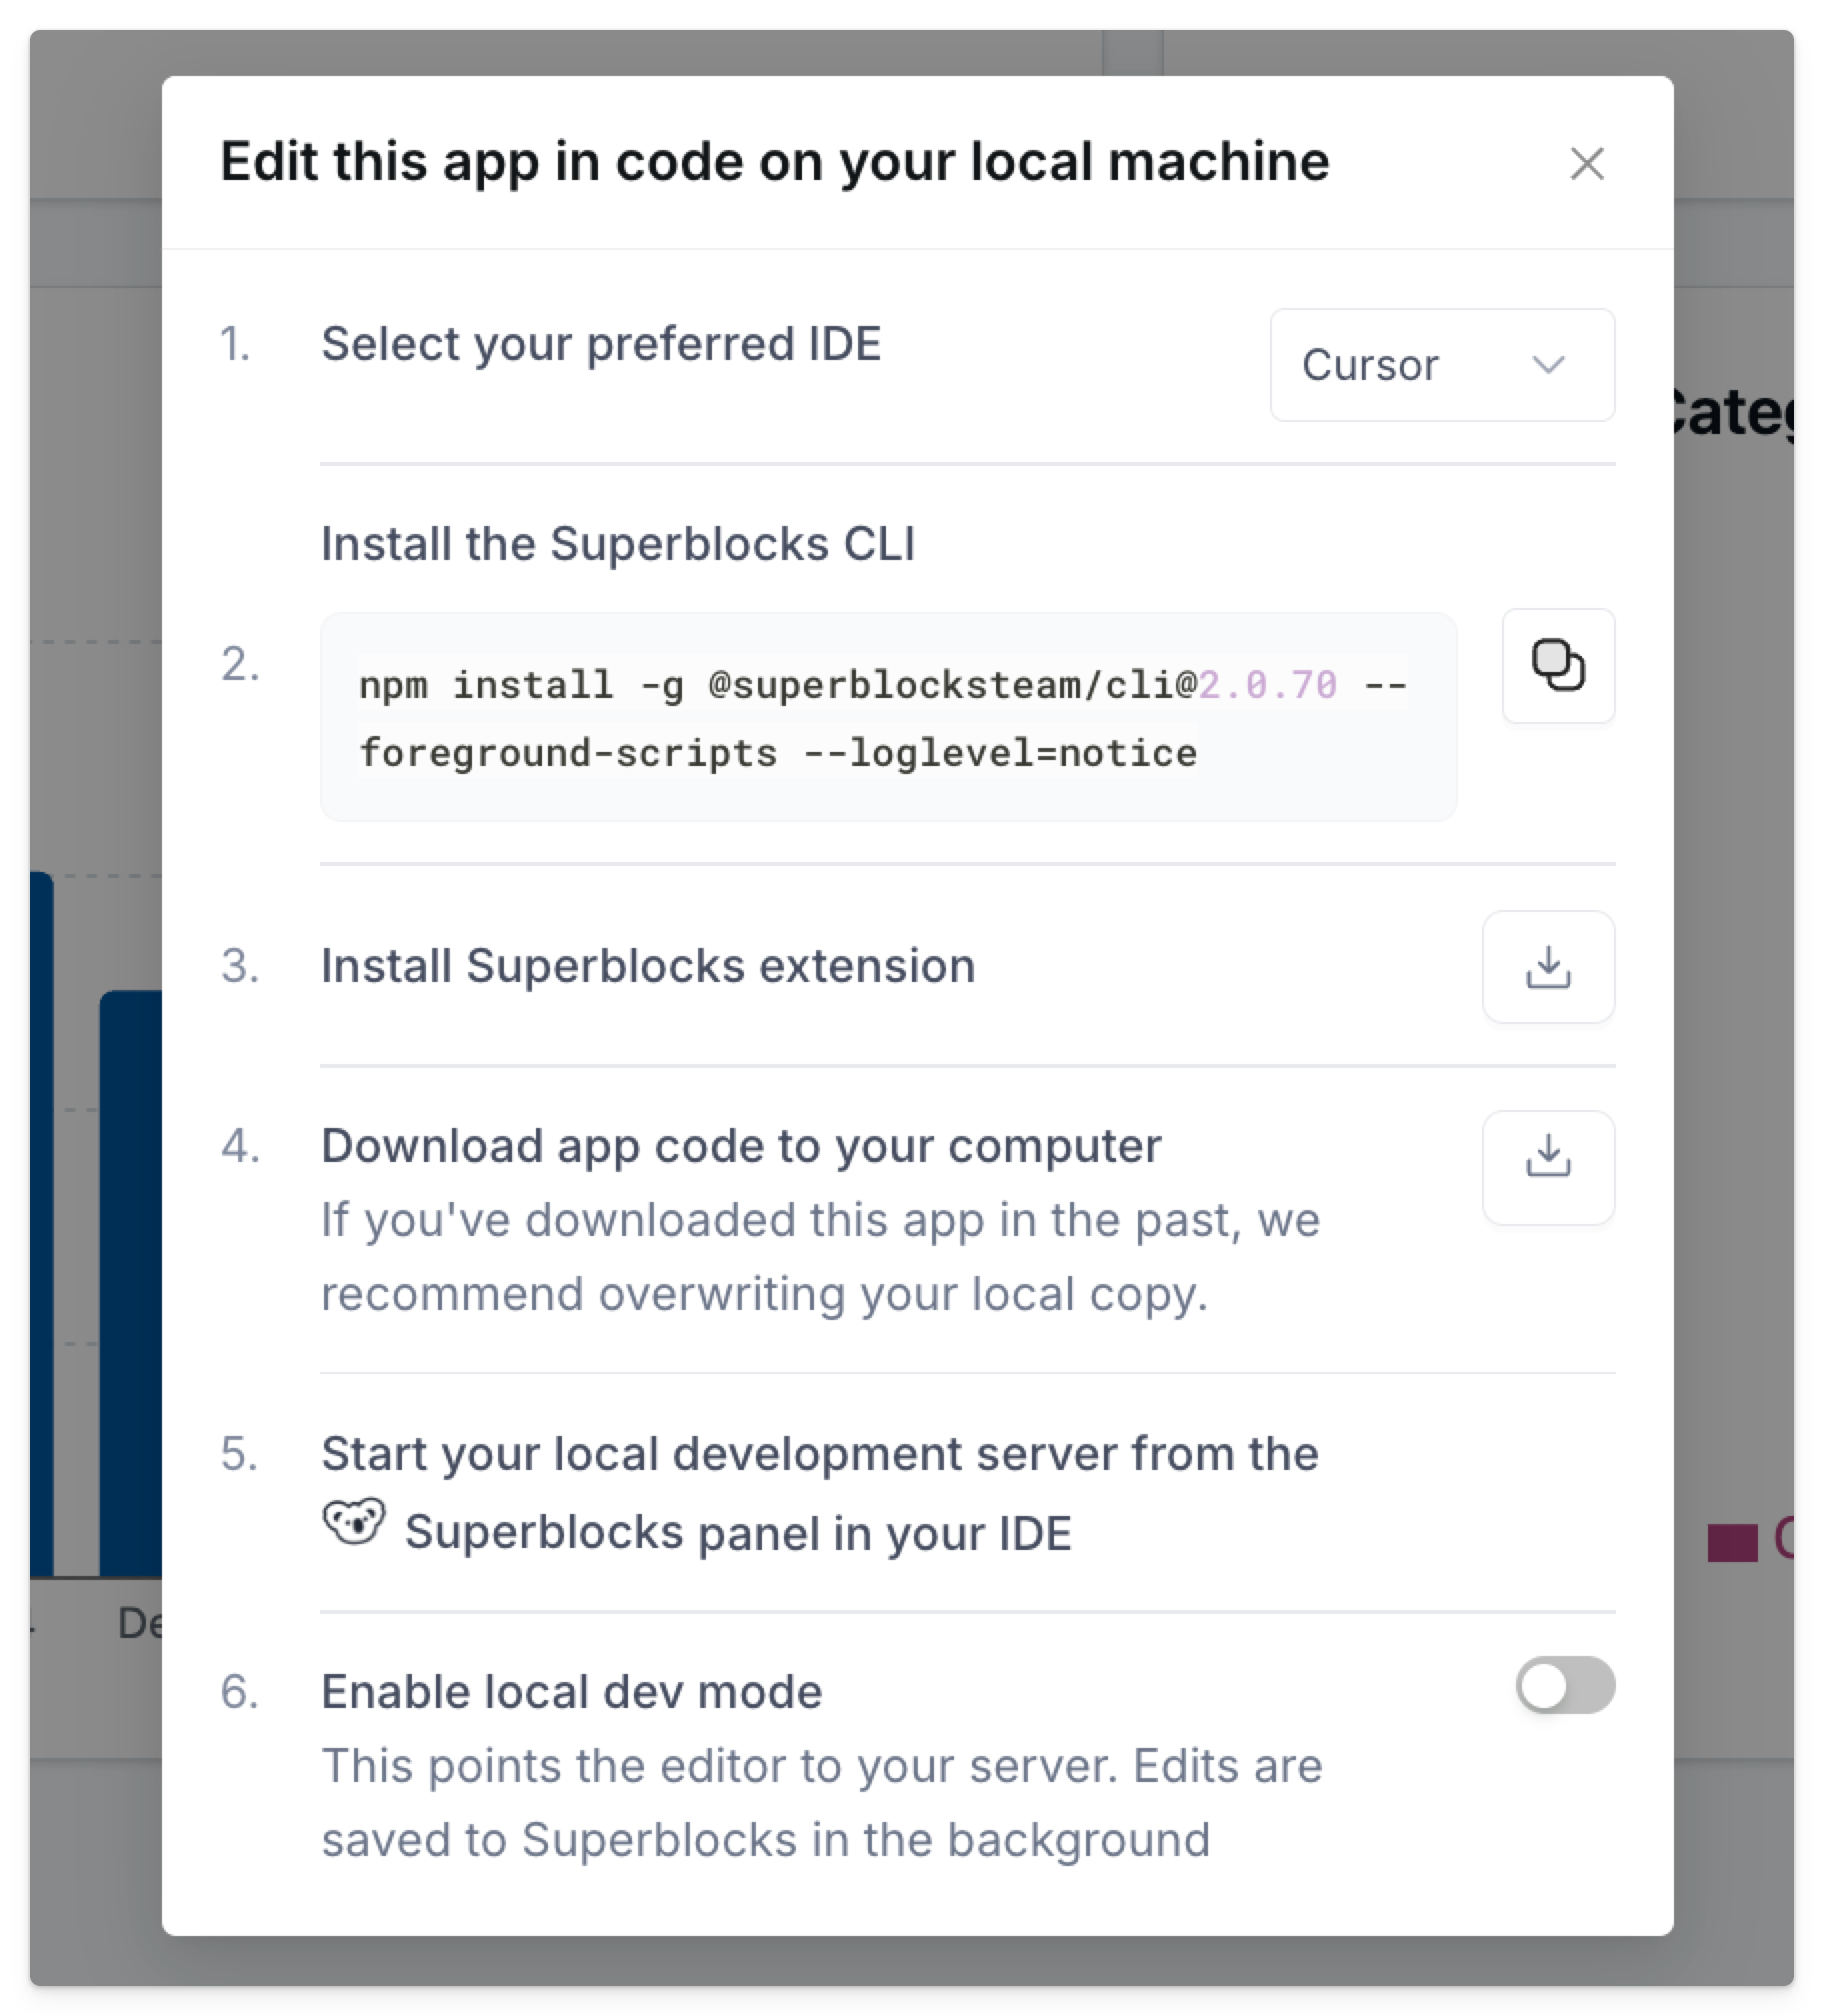
1. Select your preferred IDE
Choose between VSCode and Cursor—this will be used for installing the optional Superblocks extension. For any other IDE, you can still edit apps locally with the Superblocks CLI. More on this below.2. Install Superblocks CLI
Run thenpm install command from the in-app modal, replacing 2.0.X with the latest version.
3. Install Superblocks extension
If using VSCode or Cursor, click the download button to install the Superblocks extension for your selected IDE.4. Download application
Click the download button to download the application code to your computer. The first time an application initializes, you will be prompted to enter your personal API key from the personal settings page. Once the application is downloaded, you can explore the project structure, pages, components, and APIs.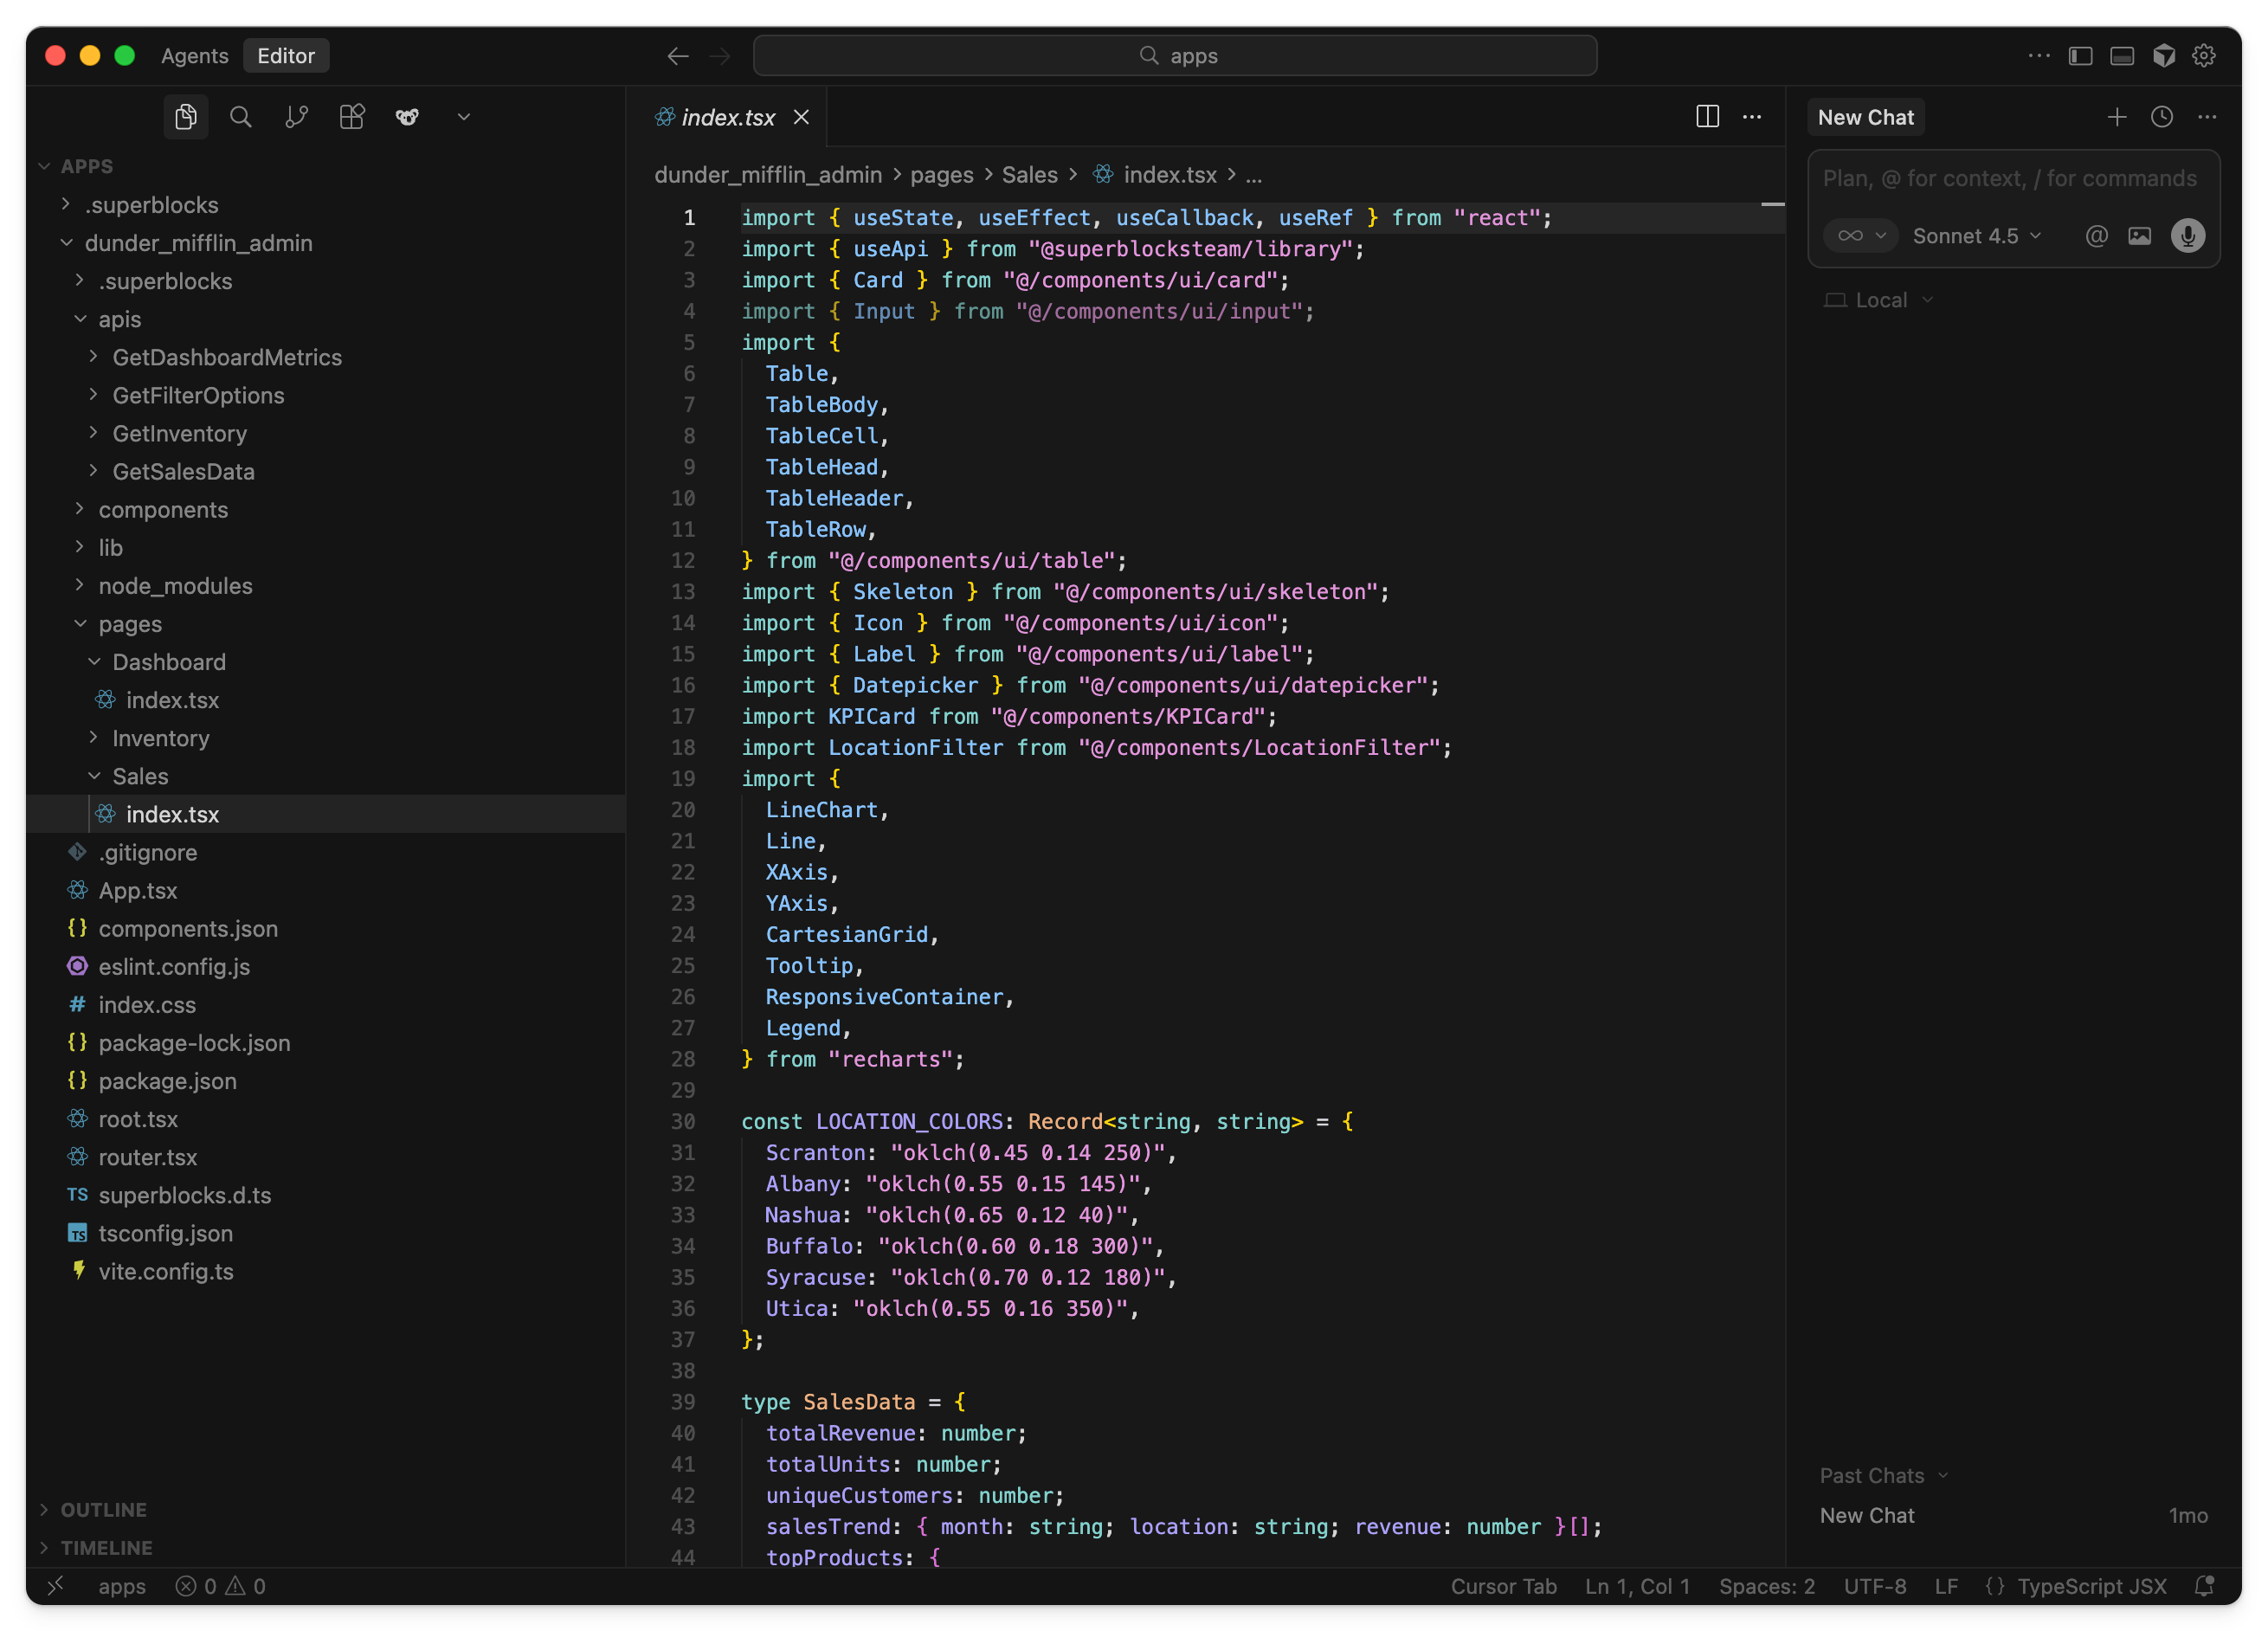
5. Start the local dev server
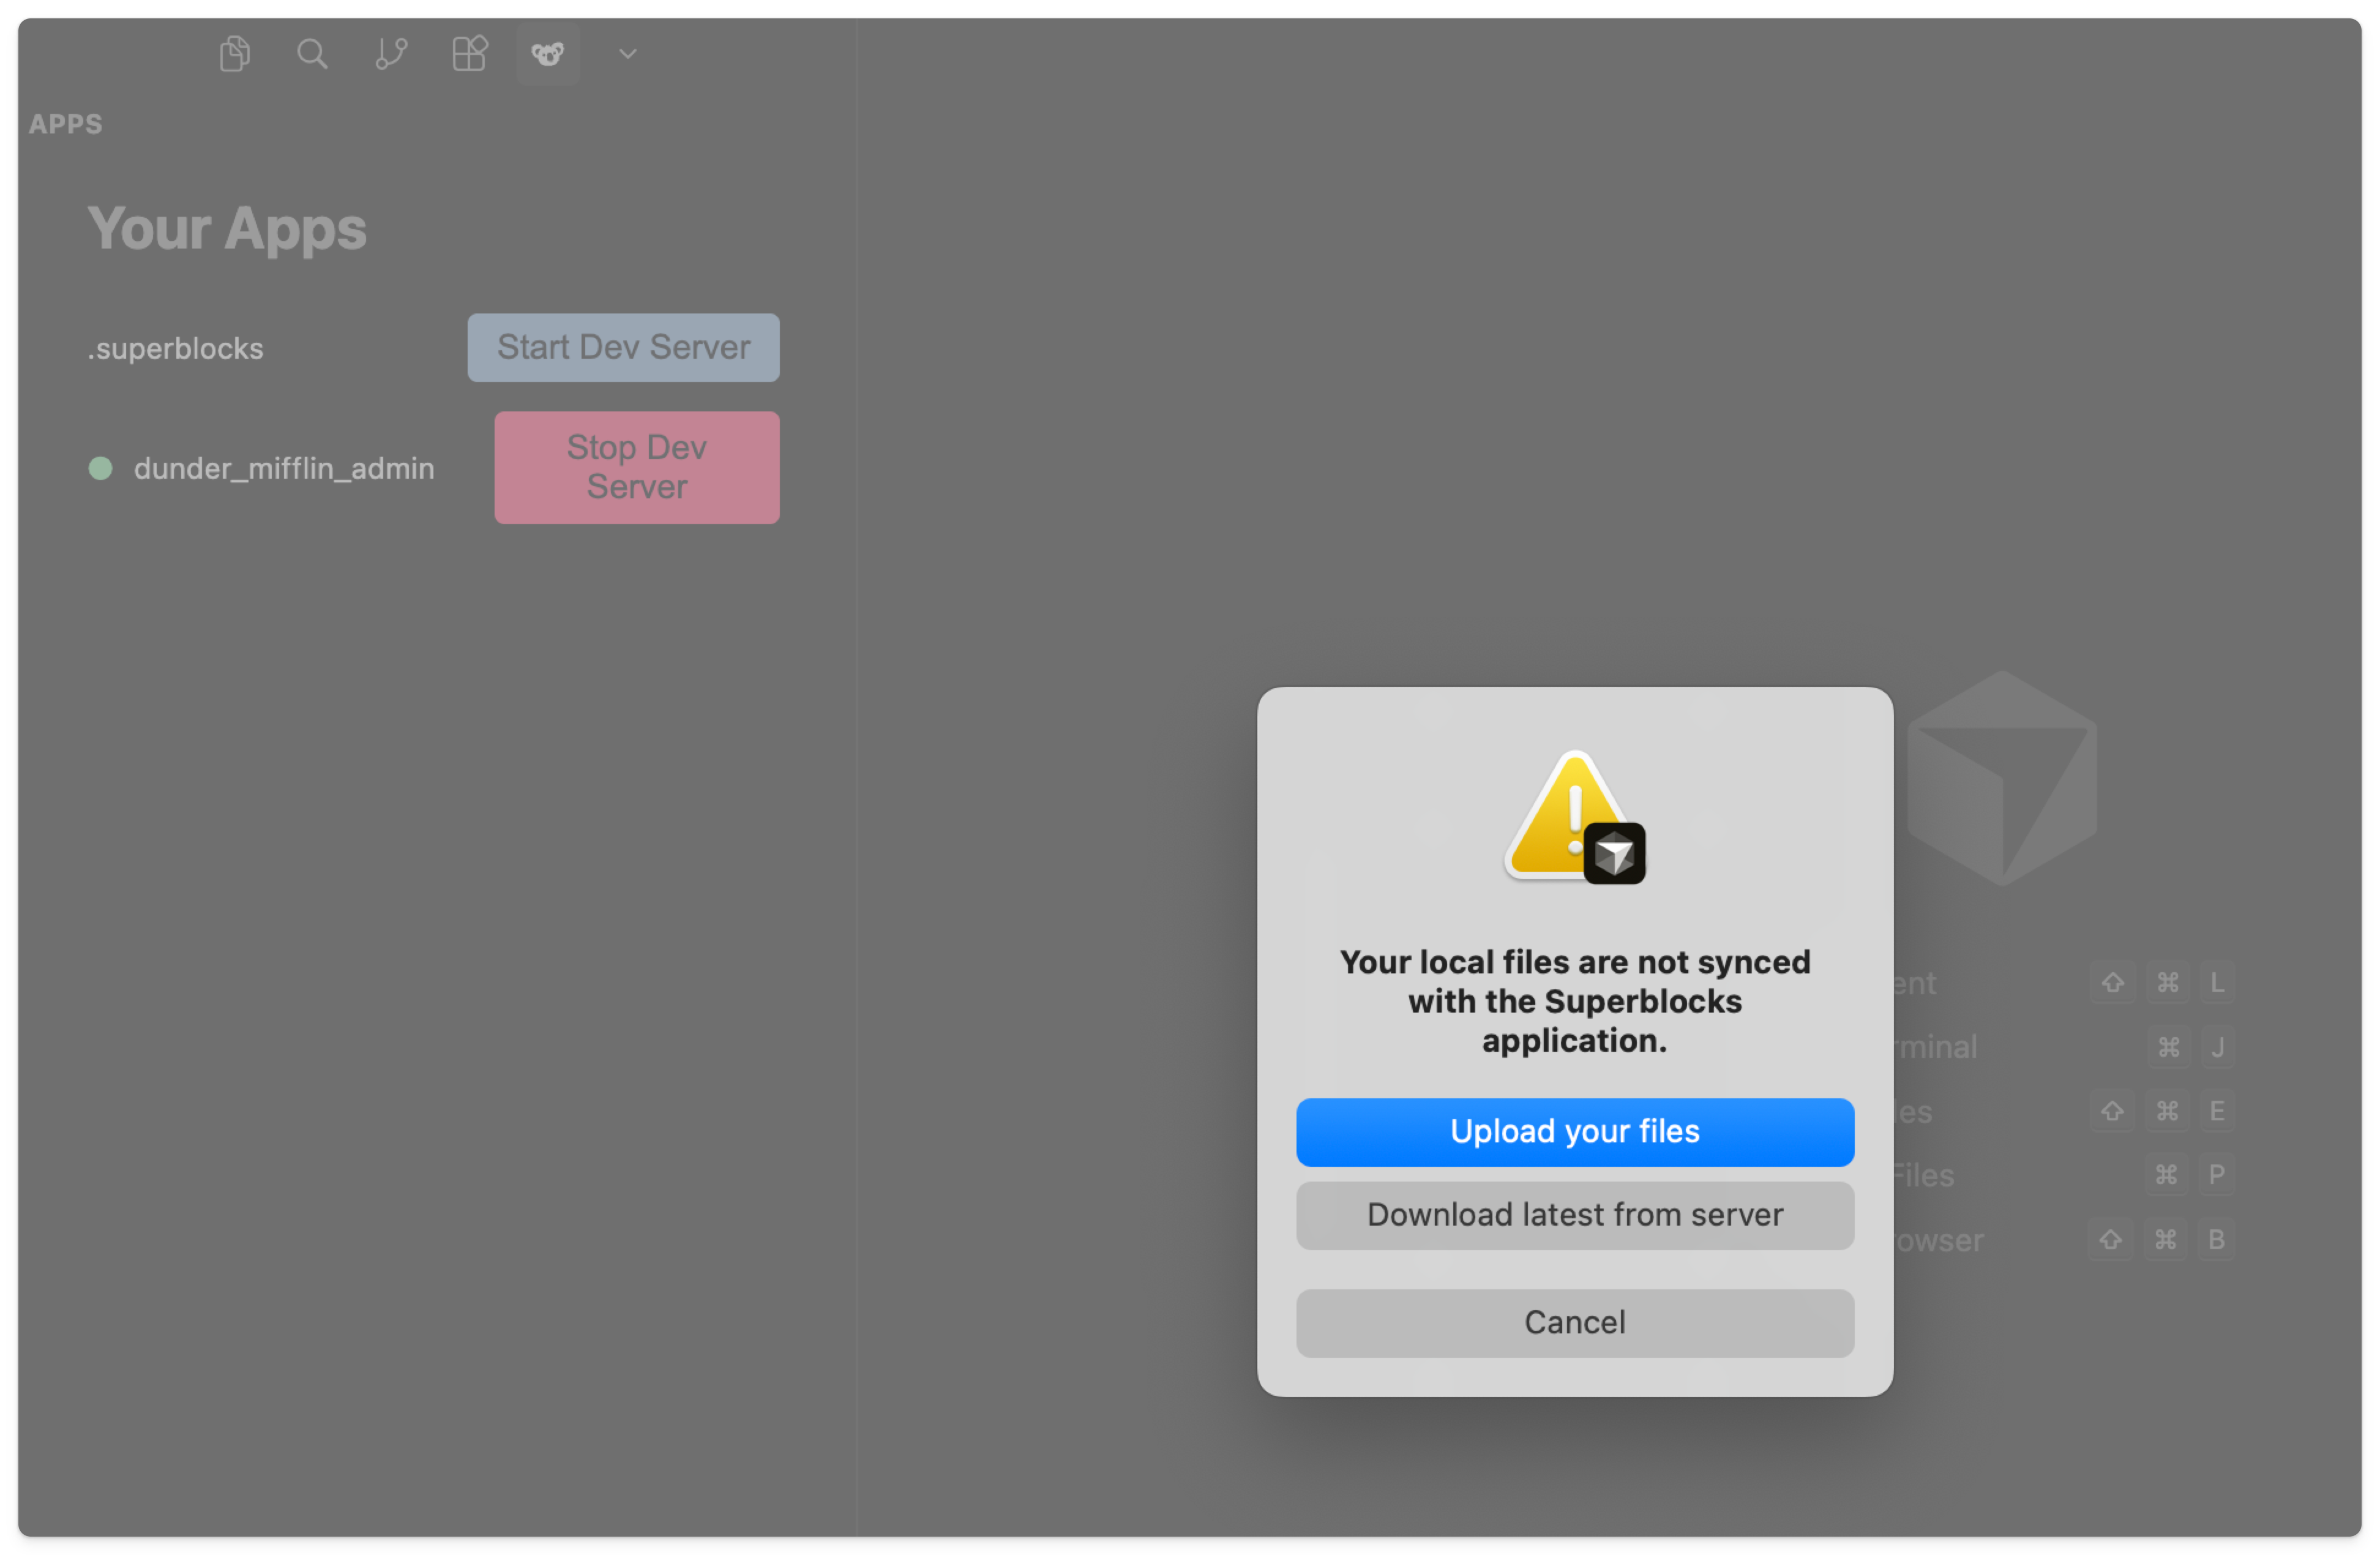
If using the Superblocks extension, select the koala logo in your IDE and click Start Dev Server. When prompted, choose whether you want to upload your files from local or download the latest files from the app.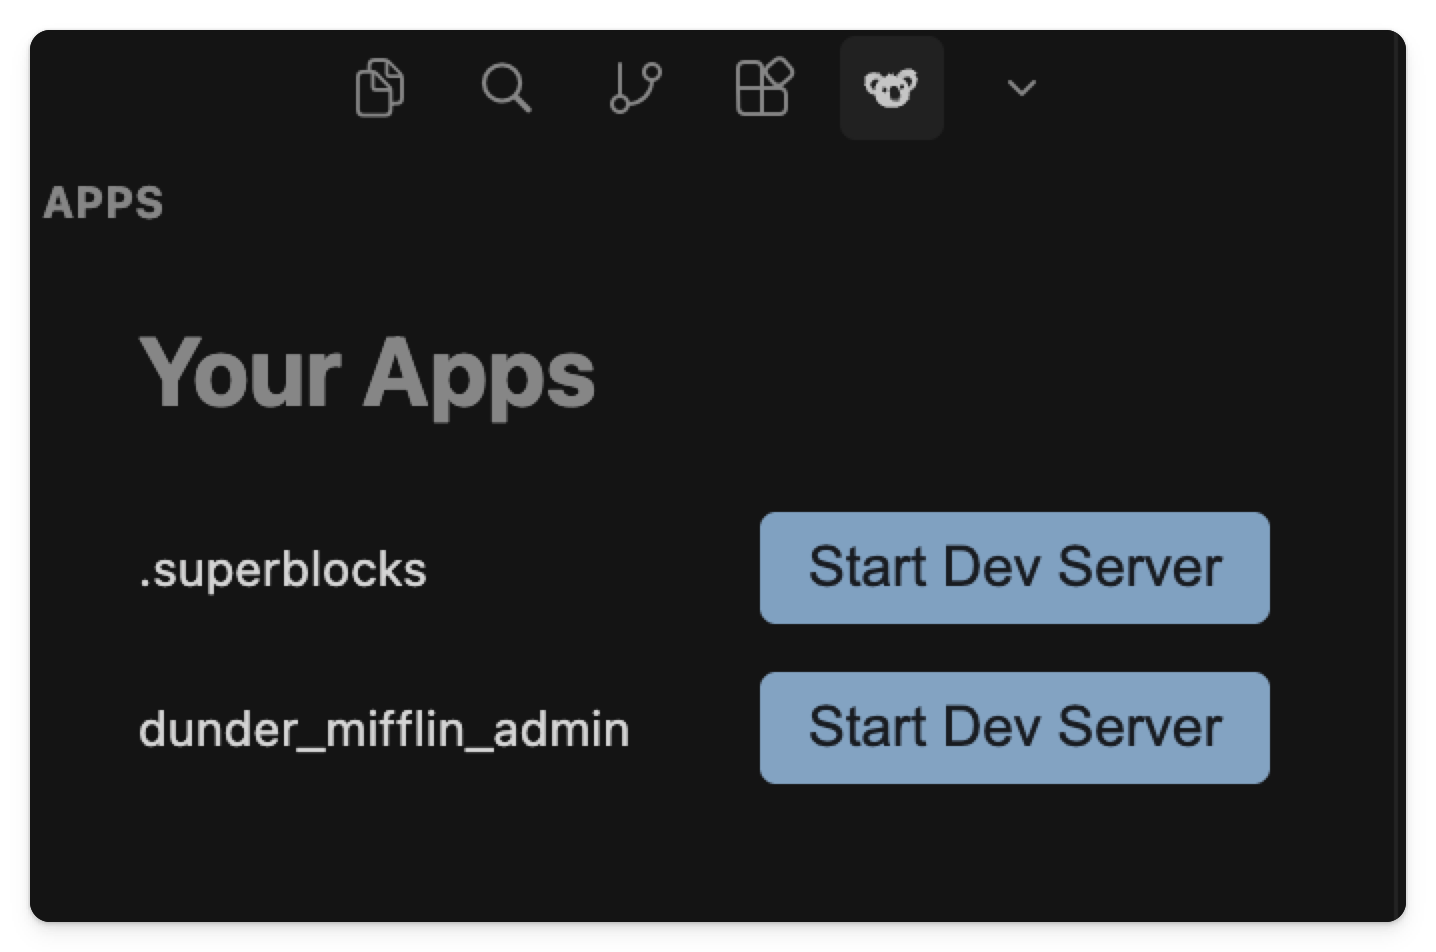
6. Enable local dev mode
Once the dev server is running locally, navigate back to Superblocks and toggle on local dev mode. The bottom right corner will now show Local editing. Any edits you make in your local application will sync back to Superblocks, and vice versa.