| Custom role | Description | Resource | Permissions |
|---|---|---|---|
| QA | Lets the QA team review application changes using commit previews, but doesn’t give them access to the live app. | Application | apps:preview |
| Maintainer | Grants permissions to edit an integration’s credentials while not letting them delete or share the integration | Integration | integrations:updateintegrations:build |
| Contributor | Can make updates to assigned Workflows, but can’t deploy their changes. | Workflow | workflows:update |
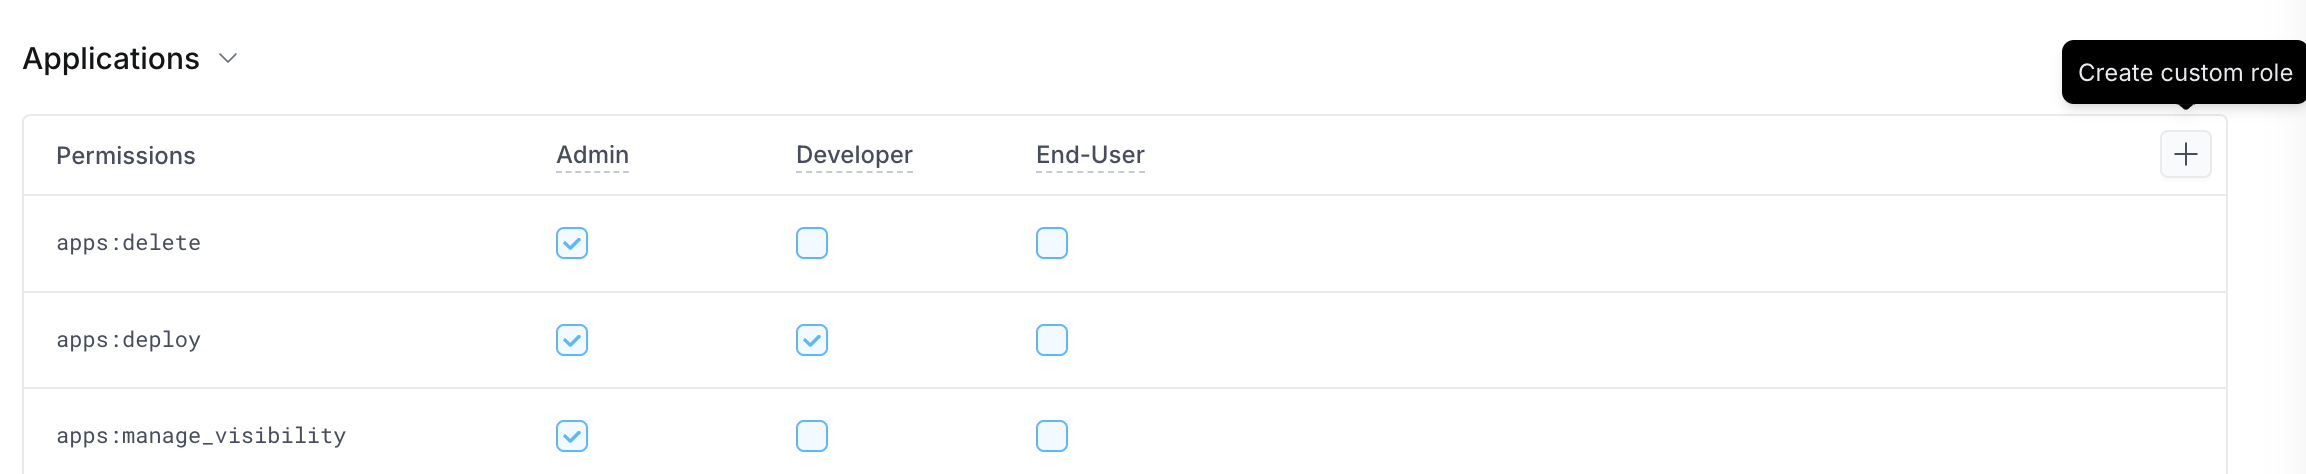
Creating a custom role
To create a custom resource role:- Click your avatar in the upper-left corner of the home page and click Organization Settings
- Click Roles & Permissions
- Click on the Resource roles tab
- Locate the resource you want to create a custom role for
- On the resource roles table, click + icon
- Type a name and description for the custom role
- Click Create
- Add permissions to your custom role by selecting the permissions in the permission table
- Once you’ve selected all the permissions you want assigned to the role, click Save
- Anyone with the
*:sharepermission of a resource can assign the role to users or groups. See Managing access to resources - You can make this role what everyone receives when new resources are created. See Resource base permissions
- You can make the role the one assigned to resource creators. See Manage creator roles
Editing a custom role’s details
To edit the name or description of a custom role:- Click your avatar in the upper-left corner of the home page and click Organization Settings
- Click Roles & Permissions
- Click on the Resource roles tab
- Next to the role you want to edit, select the dropdown menu (⋯), then click Edit details
- Change the role as required, then click Save
Editing a role’s permissions
To edit the permissions associated with a custom role:- Click your avatar in the upper-left corner of the home page and click Organization Settings
- Click Roles & Permissions
- Click on the Resource roles tab
- Locate the role you want to edit
- Check/uncheck the boxes associated with permissions you want to add/remove from the role
- Once you’ve made all your permission selections, click the Save button at the bottom of the page
Deleting a custom role
- Click your avatar in the upper-left corner of the home page and click Organization Settings
- Click Roles & Permissions
- Click on the Resource roles tab
- Next to the role you want to delete, select the dropdown menu (⋯), then click Delete
- In the confirmation dialog, choose a new role to assigned to users that currently are assigned the role being deleted, or select Remove access
- Click Reassign & delete