> ## Documentation Index
> Fetch the complete documentation index at: https://docs.superblocks.com/llms.txt
> Use this file to discover all available pages before exploring further.

# Checkpoints & rollbacks

> Track changes and restore to previous generations

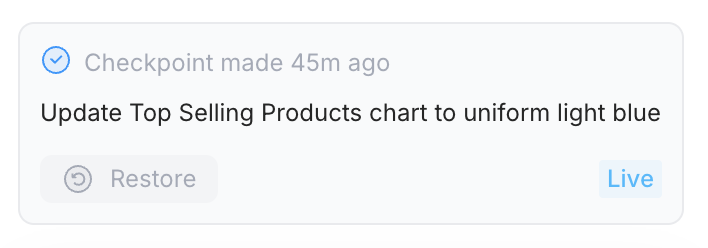
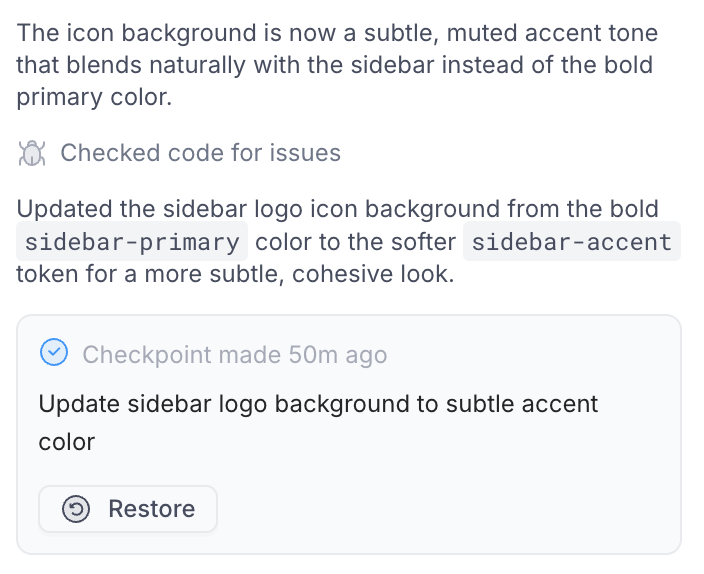
After every prompt completion, Clark automatically creates a **checkpoint** so you can track changes and restore to a previous generation at any point while building.

<div style={{ display: 'flex', gap: '1rem', width: '100%' }}>
  <div style={{ flex: 1 }}>
    ![Clark creates checkpoint after generation](https://superblocks-docs.s3.us-east-2.amazonaws.com/assets/checkpoint.png)
  </div>

  <div style={{ flex: 1 }}>
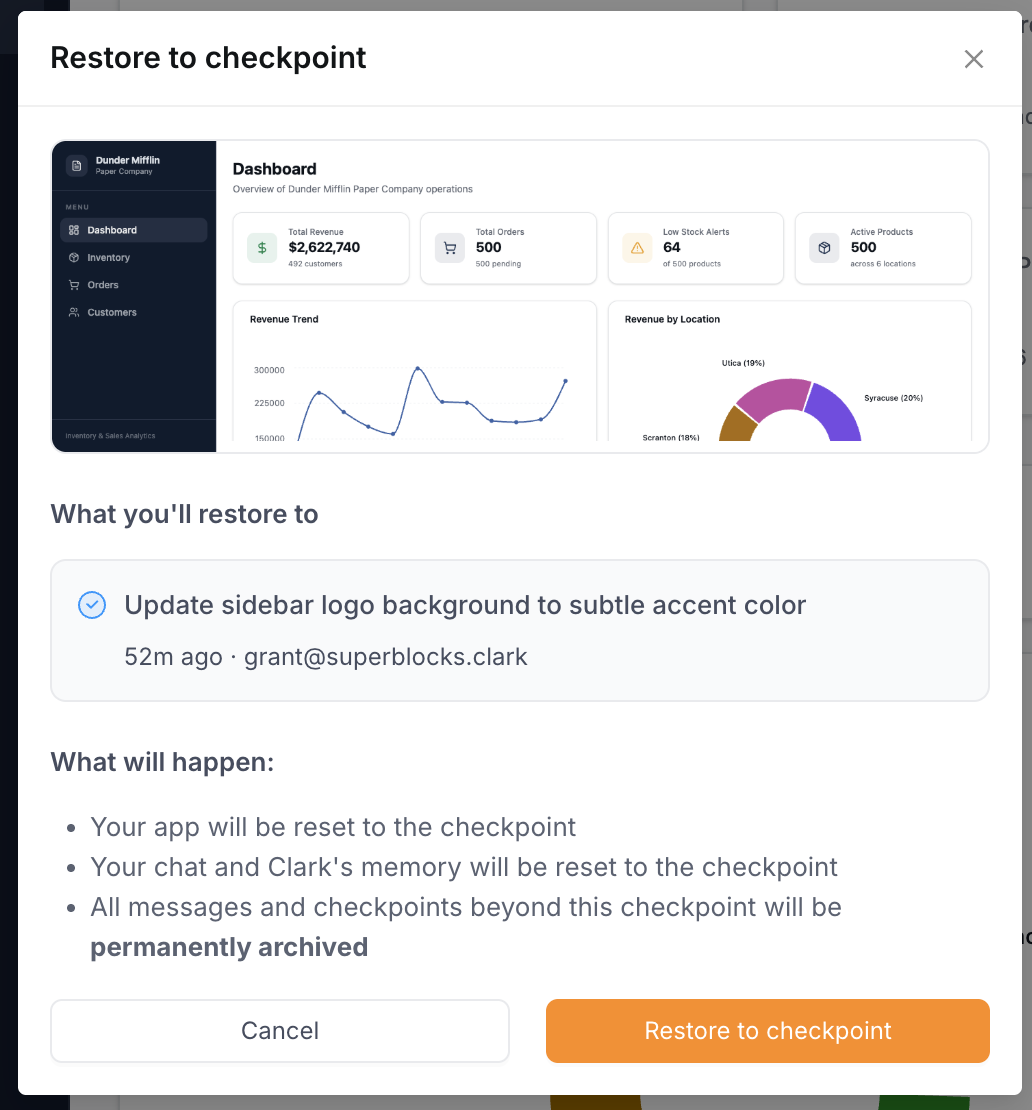
    ![Restore to a previous checkpoint](https://superblocks-docs.s3.us-east-2.amazonaws.com/assets/checkpoint_2.png)
  </div>
</div>

When restoring a checkpoint, the app's edit state is reset to the state it was in at the time of the checkpoint. All chat messages that occurred after this checkpoint are archived, effectively resetting Clark's memory to this checkpoint.

## Viewing change history

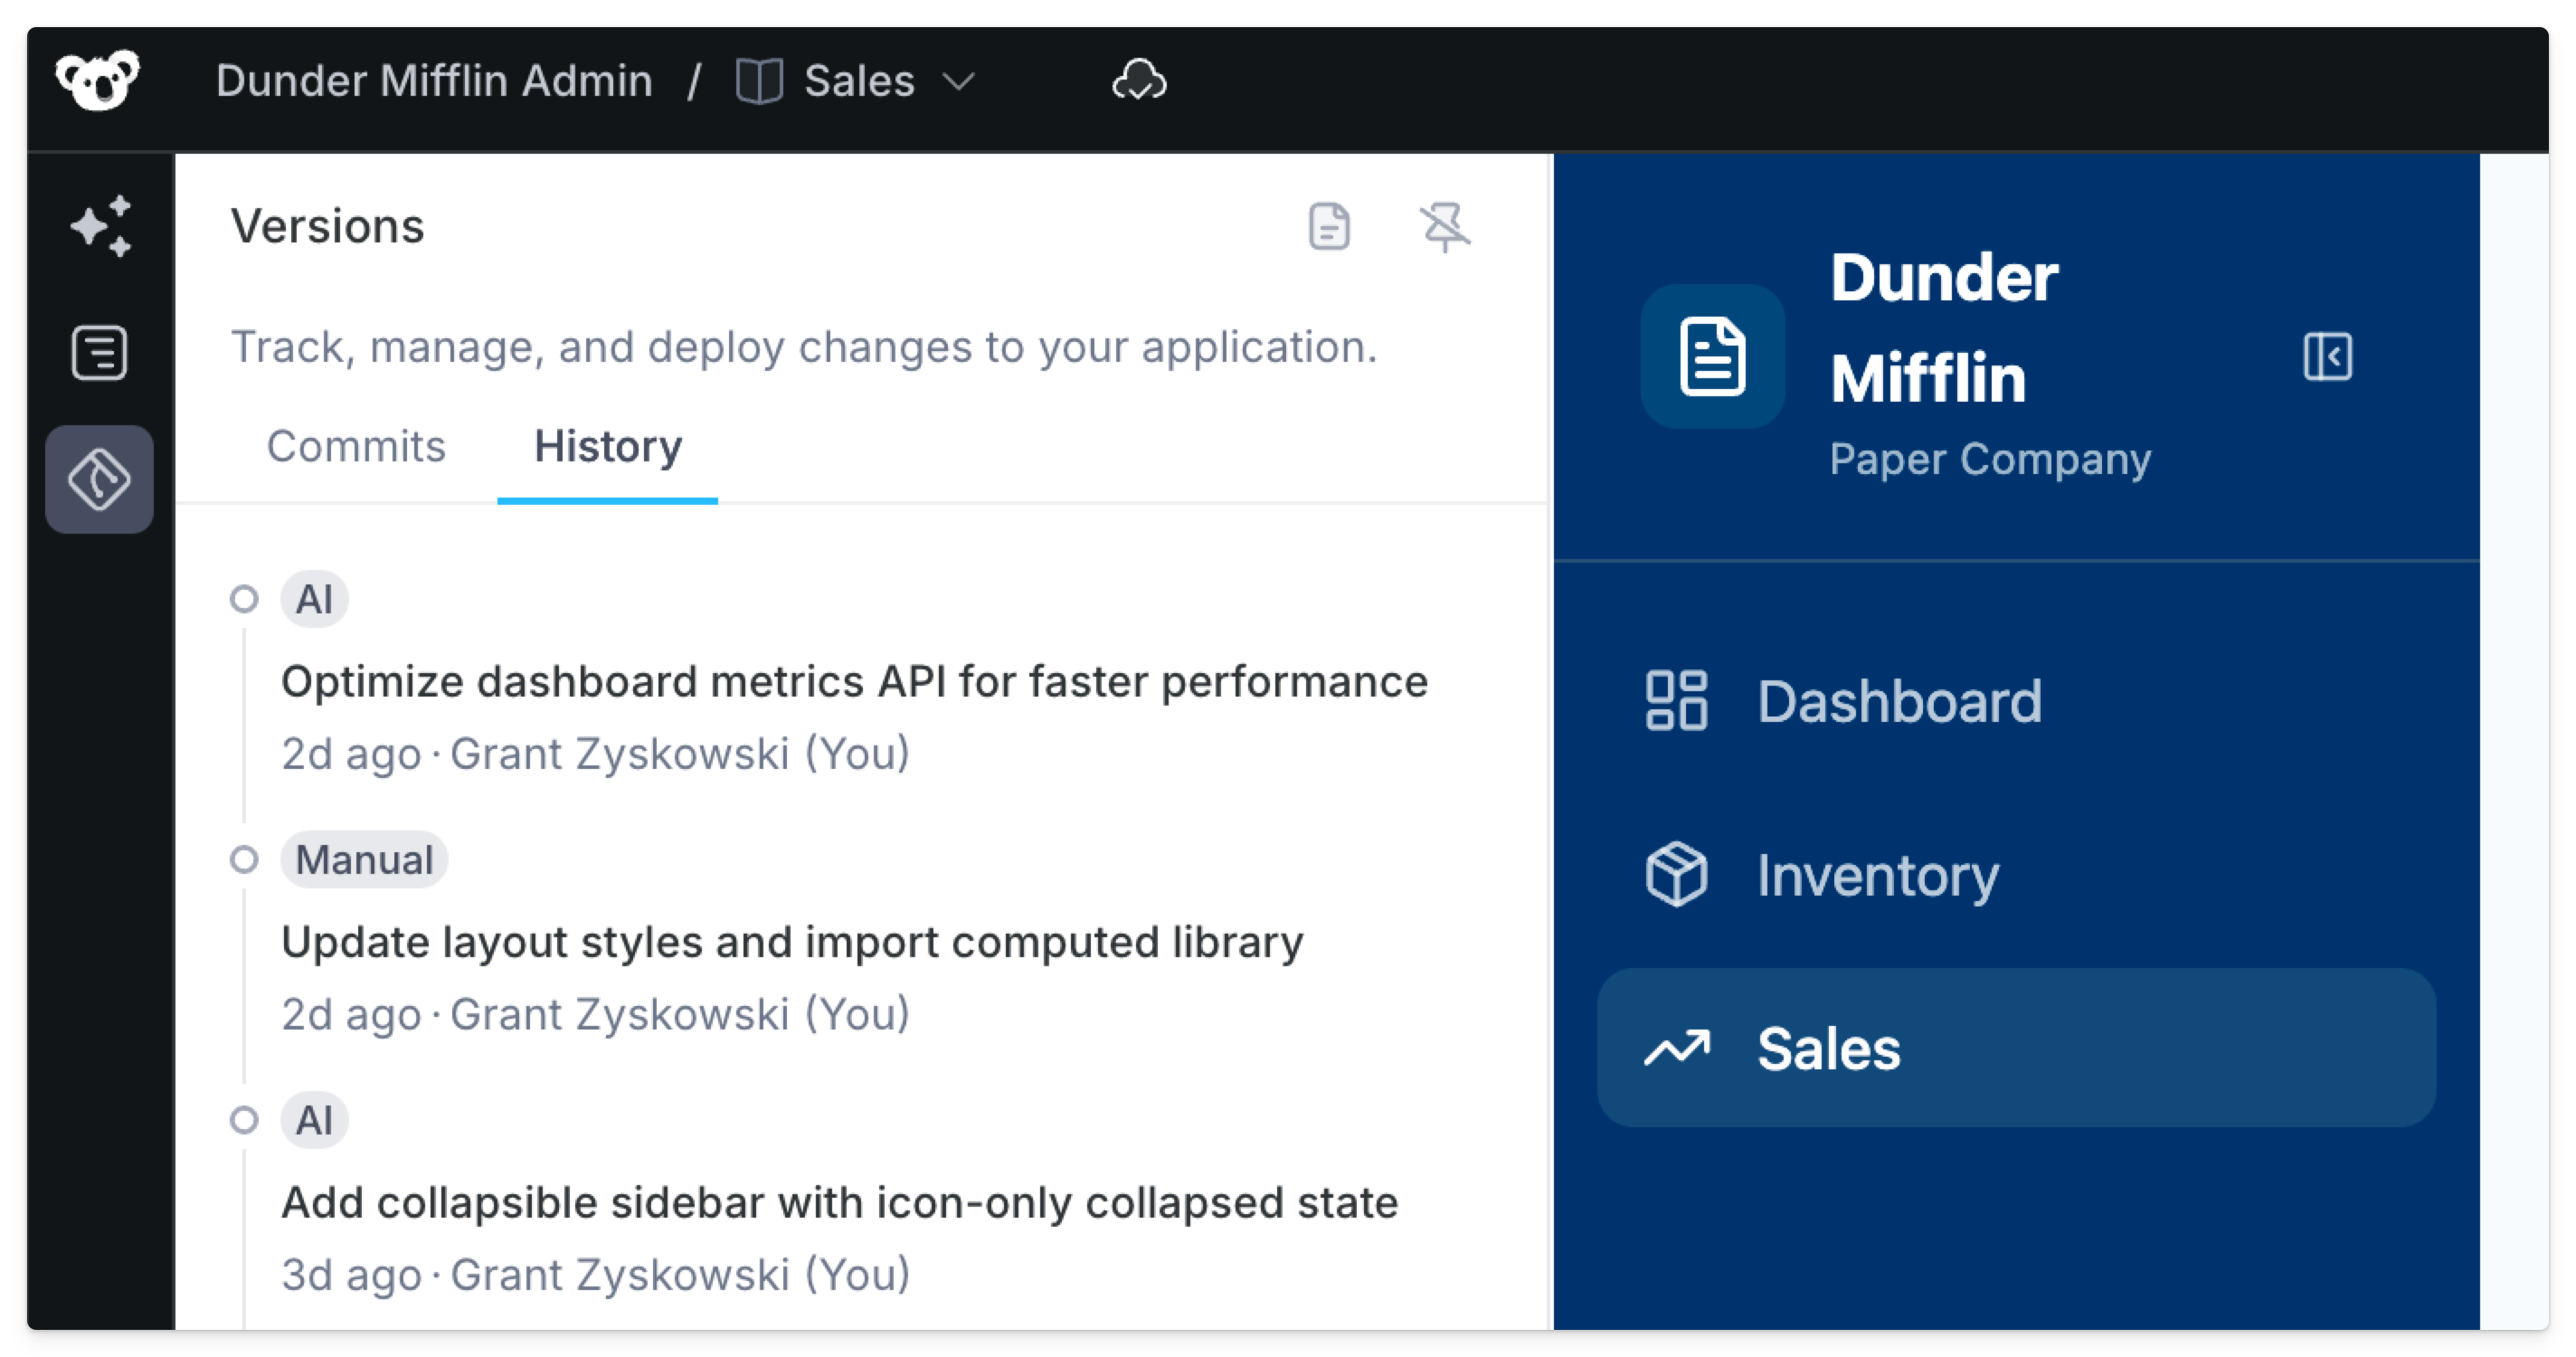
To see a log of all changes during your editing session, select the **Versions** section of the left navigation then switch to the **History** tab.
<div style={{ width: '80%' }}>
  <img src="https://mintcdn.com/superblocks/tt5q66tB8IiNvsPL/images/building-with-clark/versions_history.png?fit=max&auto=format&n=tt5q66tB8IiNvsPL&q=85&s=c2082261f0b957b6beeebb99c38fe37e" alt="Track Clark changes under versions history" width="2848" height="1500" data-path="images/building-with-clark/versions_history.png" />
</div>

## Committing and deploying

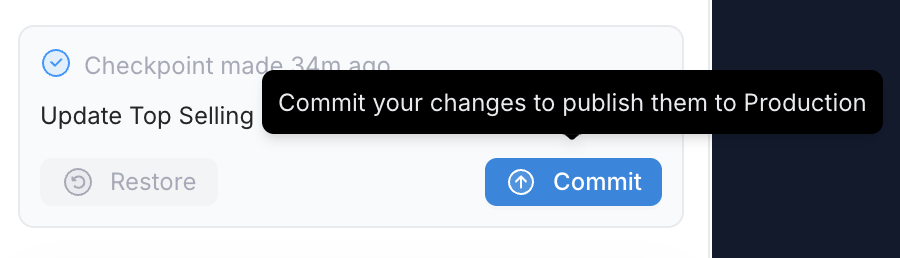
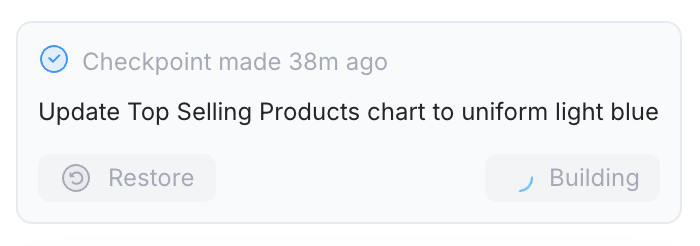
When you're ready to publish your app, navigate to your latest or desired checkpoint in the Clark chat, then click the **Commit** button to kick off a build.

<div style={{ display: 'flex', gap: '1rem', width: '100%', alignItems: 'flex-start' }}>
  <div style={{ flex: 1 }}>
    <img src="https://superblocks-docs.s3.us-east-2.amazonaws.com/assets/commit_from_checkpoint.png" alt="Commit from checkpoint" style={{ width: '100%' }} />
  </div>

  <div style={{ flex: 1 }}>
    <img src="https://superblocks-docs.s3.us-east-2.amazonaws.com/assets/building_commit.png" alt="Commit building" style={{ width: '100%' }} />
  </div>
</div>

This creates a named commit in your **Versions** panel that you can use to preview the application before deploying, or reset the editor if you ever need to roll back to a previous commit.

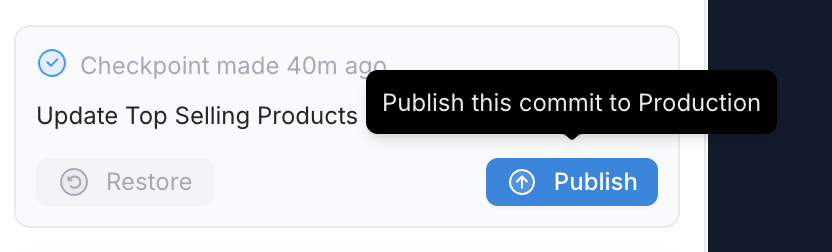
When the build completes, click the **Publish** button to make your app live in production.

<div style={{ display: 'flex', gap: '1rem', width: '100%', alignItems: 'flex-start' }}>
  <div style={{ flex: 1 }}>
    <img src="https://superblocks-docs.s3.us-east-2.amazonaws.com/assets/publish_commit.png" alt="Publish from checkpoint" style={{ width: '100%' }} />
  </div>

  <div style={{ flex: 1 }}>
    <img src="https://superblocks-docs.s3.us-east-2.amazonaws.com/assets/live_commit.png" alt="Live commit" style={{ width: '100%' }} />
  </div>
</div>

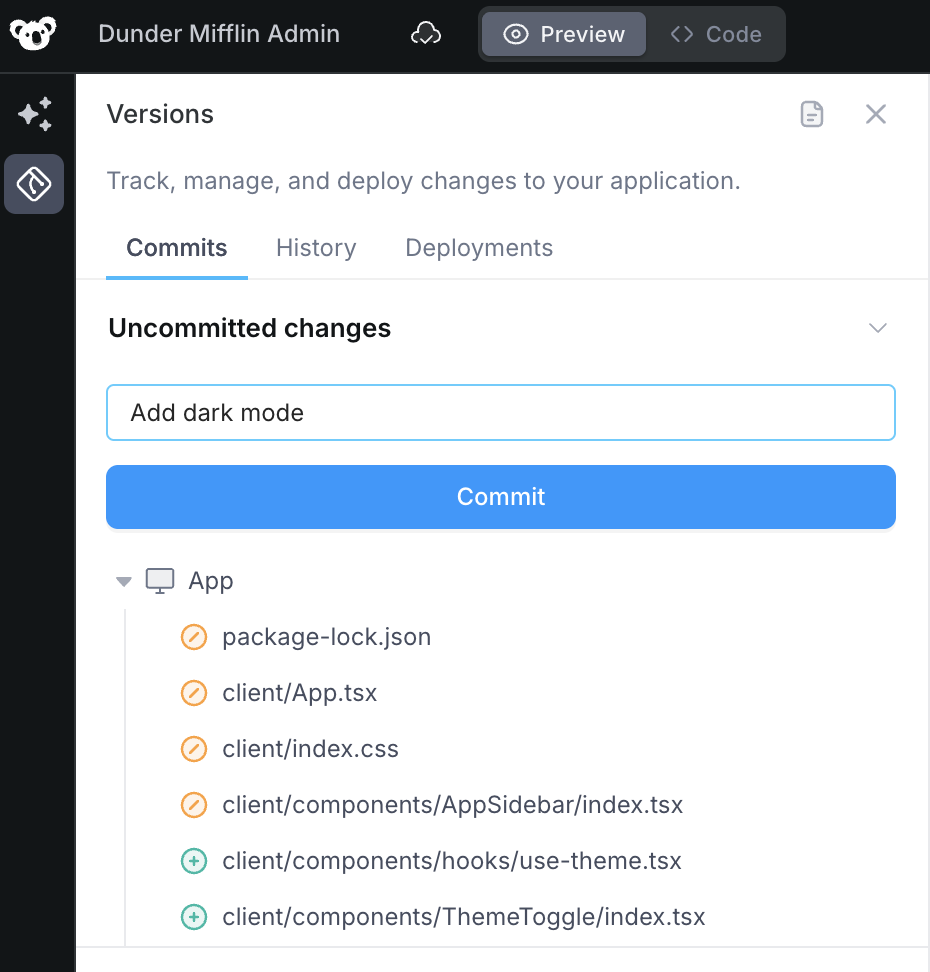
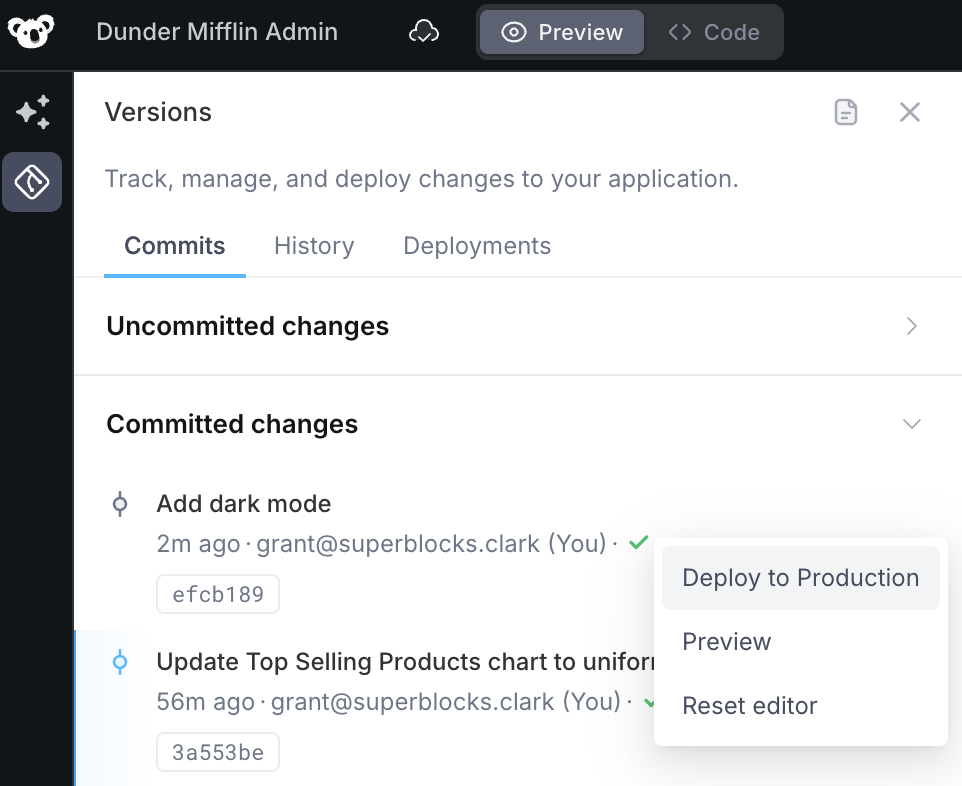
Note, you can alternatively publish an app from the **Versions** section of the left navigation. Select the **Commits** tab, describe your changes, and commit. Once the build completes and you've reviewed the preview, select your commit and **Deploy to Production** to make your changes live for end users.

<div style={{ display: 'flex', gap: '1rem', width: '100%' }}>
  <div style={{ flex: 1 }}>
    ![Commit uncommitted changes](https://superblocks-docs.s3.us-east-2.amazonaws.com/assets/versions_commits.png)
  </div>

  <div style={{ flex: 1 }}>
    ![Deploy committed changes](https://superblocks-docs.s3.us-east-2.amazonaws.com/assets/versions_deploy.png)
  </div>
</div>

For more info on committing and deploying changes in Superblocks, see [version control](/development-lifecycle/version-control/superblocks-sdlc).